 Hao's learning log
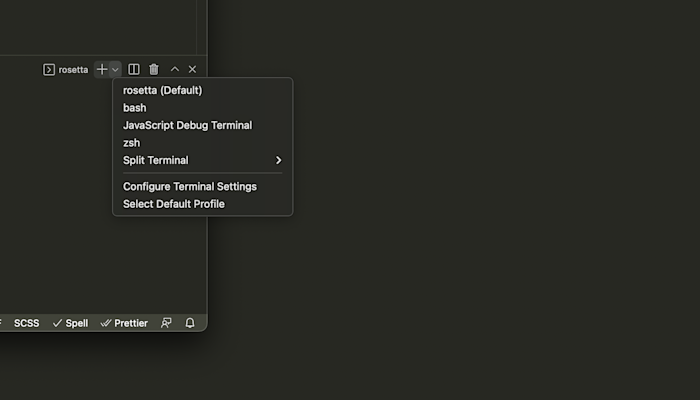 By Me
By MeSetting up ZSH with VS Code on Apple silicon Mac (M1 chip)
I upgraded to MacBook Pro 14" a few months back. I've been using it for personal development and commercial contracts (working inside large teams) with no problem. For anyone who's on the fence about buying a Mac with Apple silicon (AKA M1 chip), I would encourage them to go for it. I want to point out that the lack of issues could be because I'm running all codebases with Resetta 2, an emulator that could translate Intel chip commands so they could run on Apple Silicon. In this article, I'll share my setup in case it helps anyone out there.
A bit of history
You might be wondering why it is called Rosetta 2. It is because this is the second version of Rosetta, as the name indicates. Apple introduced the first version back in 2006 to help migrate users from PowerPC processors to Intel. So it is somewhat ironic that the first version of Rosetta brought Apple users to Intel, only to take them all away after 16 years with the second version.
Install Rosetta 2
If you have an Apple Silicon Mac, it should prompt you to install Rosetta when you try to open any app designed for Intel Macs.

If you don't want to go through the trouble of first finding an app that is incompatible with your mac first, you can do it in the terminal just as easily:
softwareupdate --install-rosetta --agree-to-licenseInstall VS Code
It is worth noting that VS Code now natively support Apple Silicon. So the install process is the same as before - download link.
Zsh
Zsh should be pre-installed on Macs now. So you shouldn't need to do anything here.
Setup Rosetta Terminal
We will duplicate the mac Terminal app at this stage and run one of them through Rosetta. This way, when we run any commands, it will be no different than running them on an Intel-based Mac.
First, let's check the CPU architecture by running arch command in the terminal. Unless you have configured it already, it should say arm64.
$ arch
arm64- Open the Finder app on your app, then use the
cmd + shift + ushortcut to get into the Utilities folder.
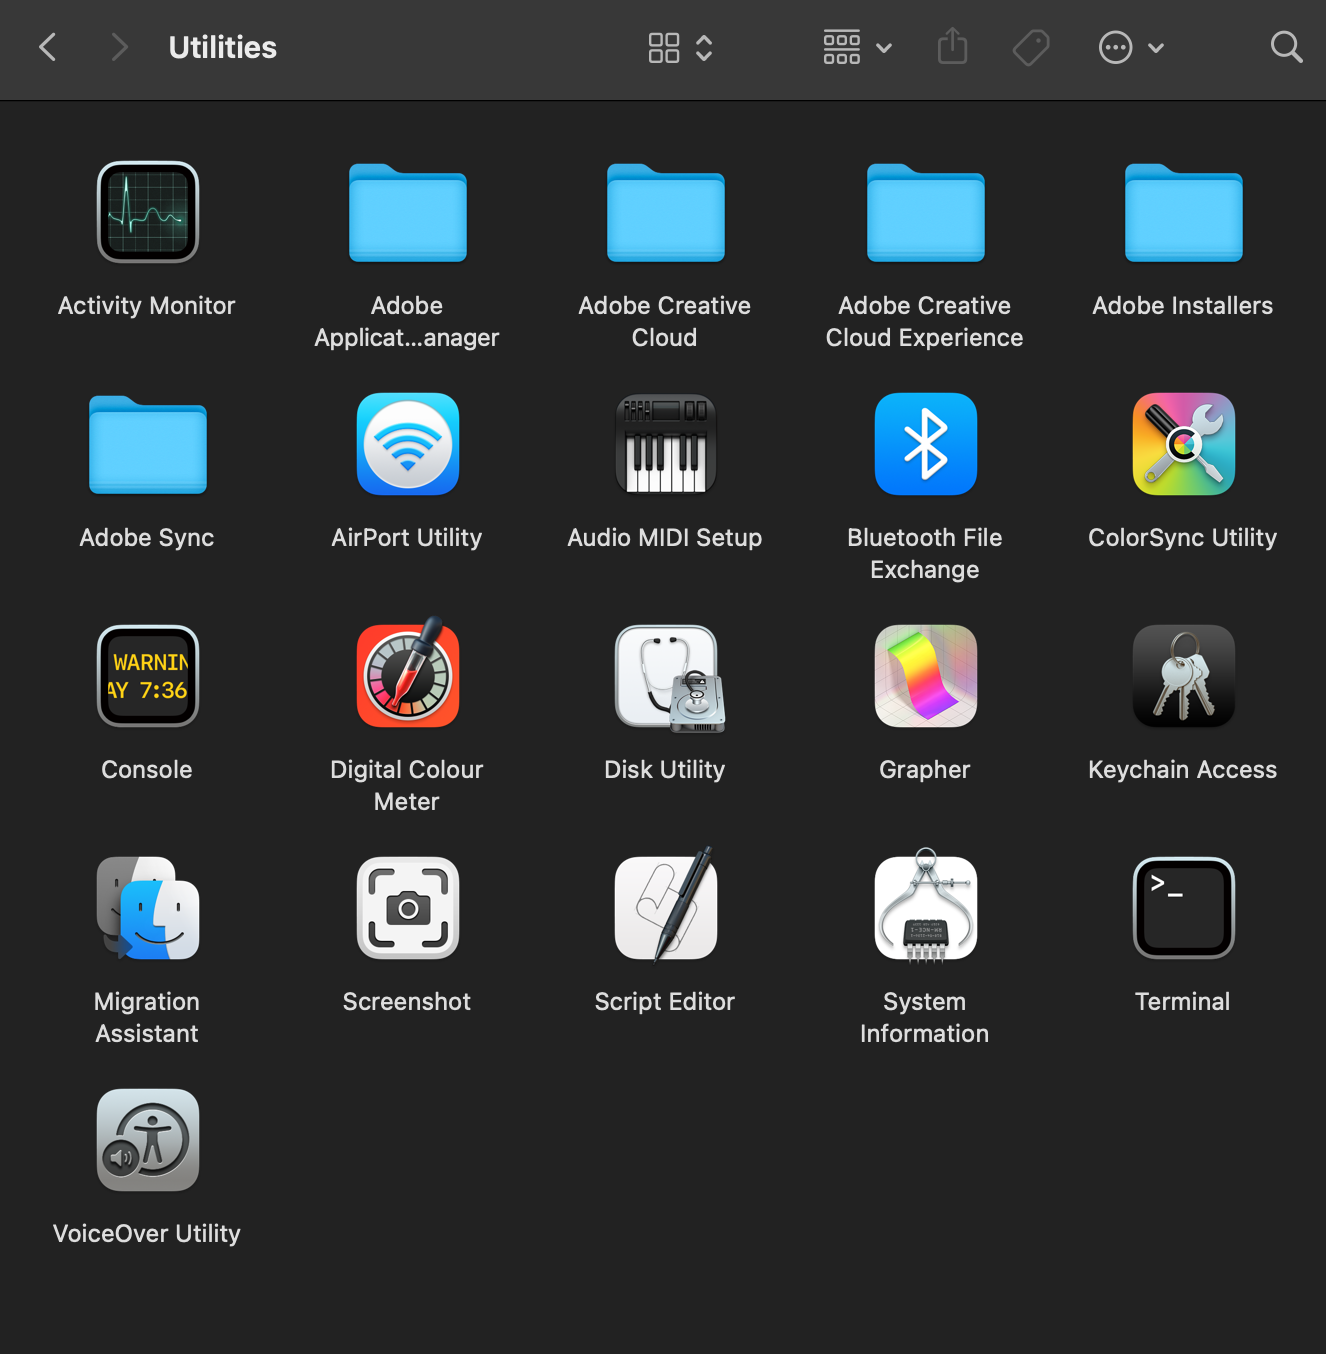
- Now, right-click on the Terminal app and click on Duplicate.
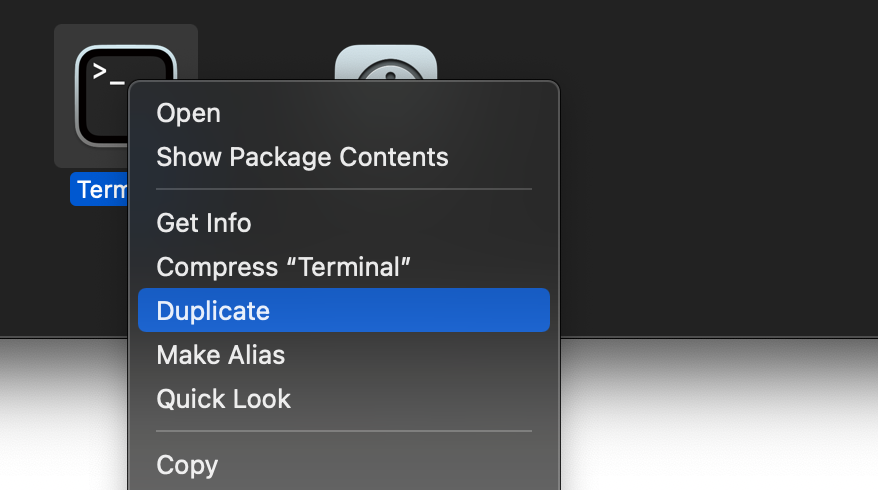
- Then rename one of them to Rosetta Terminal or whatever you want to call it.
- Right-click on the Rosetta Terminal app and click on Get Info
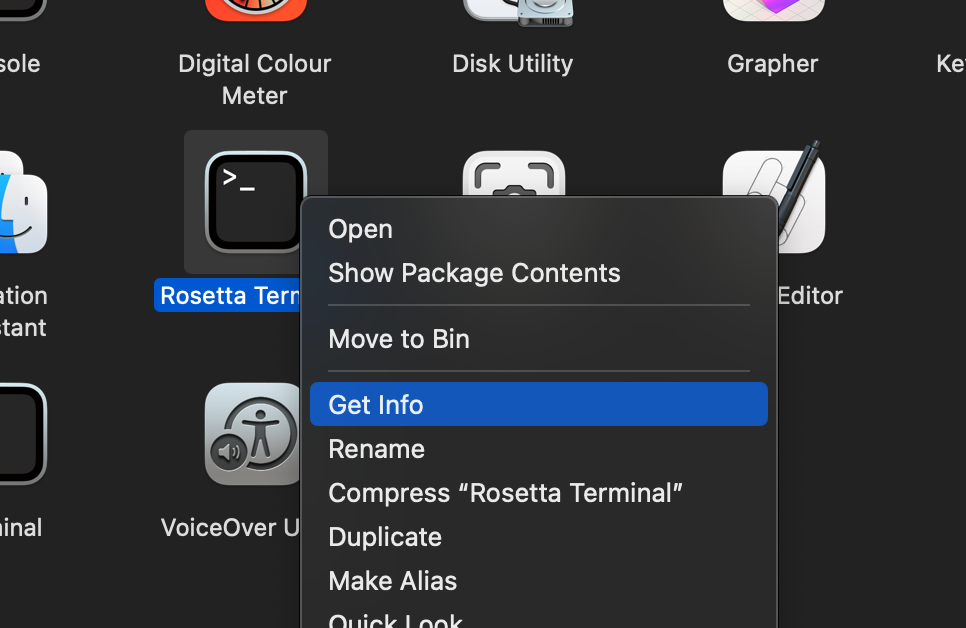
- Toggle on the Open using Rosetta checkbox, and we are done!
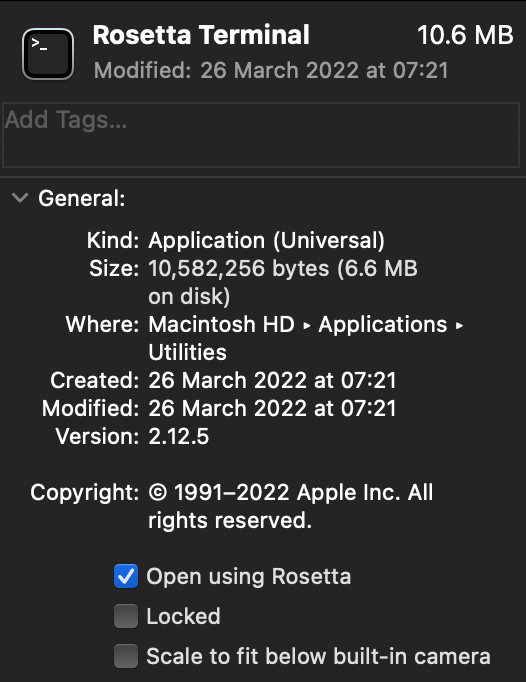
Open "Rosetta Terminal" and rerun the arch command. We can see now it says i386.
$ arch
i386
Configure VS Code
Open up VS Code and go to settings.json, then paste in the following:
{
...
"terminal.integrated.profiles.osx": {
"rosetta": {
"path": "arch",
"args": ["-x86_64", "zsh", "-l"],
"overrideName": true
}
},
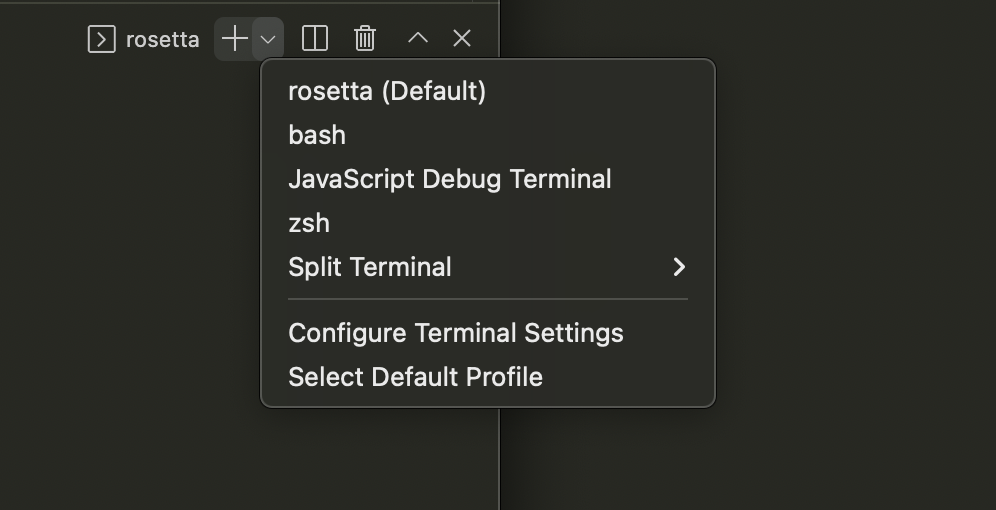
"terminal.integrated.defaultProfile.osx": "rosetta",
...
}Then make sure the selected default is the rosetta profile, as shown below:
Check everything is working
Finally, let's type arch command in the VS Code's integrated terminal. If you see i386 then it is working correctly. Congrats!
