 Hao's learning log
 Photo by Taylor Vick on Unsplash
Set up domain forward from Cloudflare to Netlify
I recently migrated a few domains to Cloudflare. Sure enough, my domain set up is all over the place afterwards. I decided to clean everything up and set up everything again from scratch. This article explains how I was able to get Cloudflare to forward all request to Netlify.
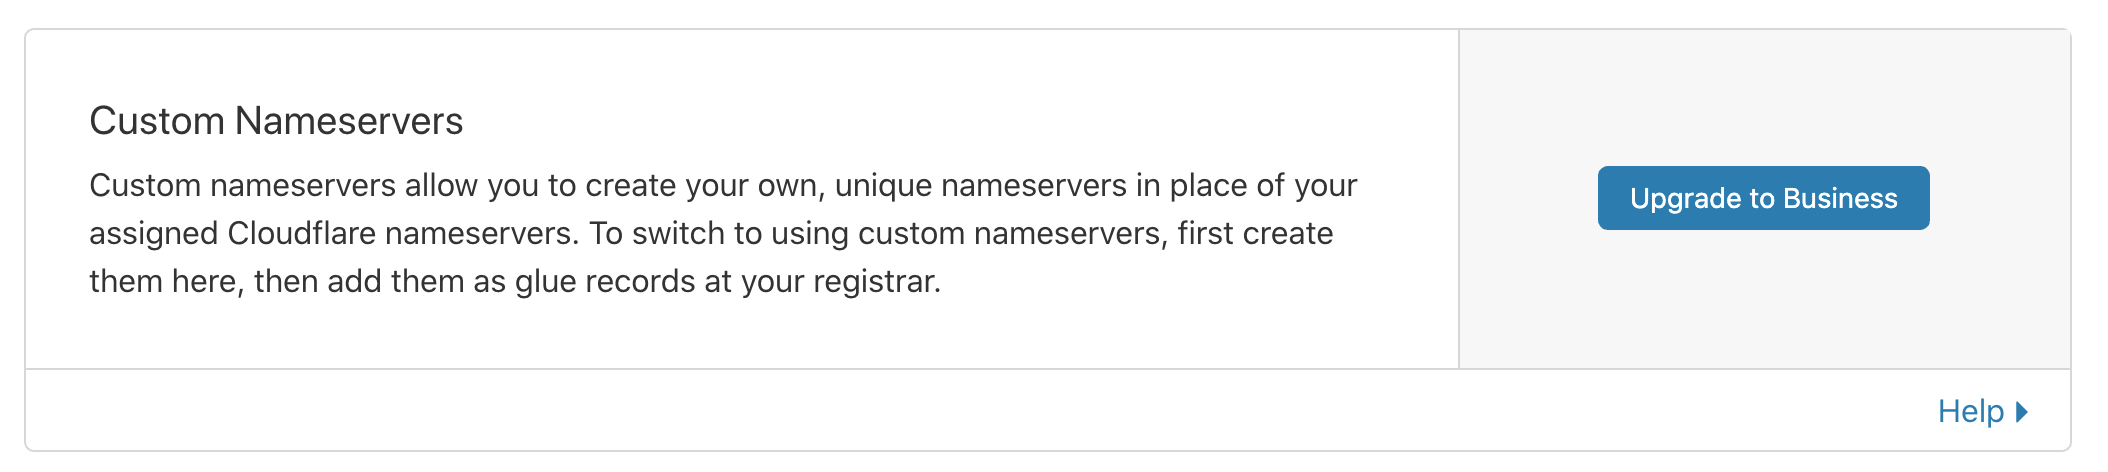
There is a much easier way of achieving what I am trying to do here with Nameservers, however, with Cloudflare you need to be at least on a business subscription for a given domain before they open up that feature to you.
How much does it cost to be on their business subscription I hear you ask?
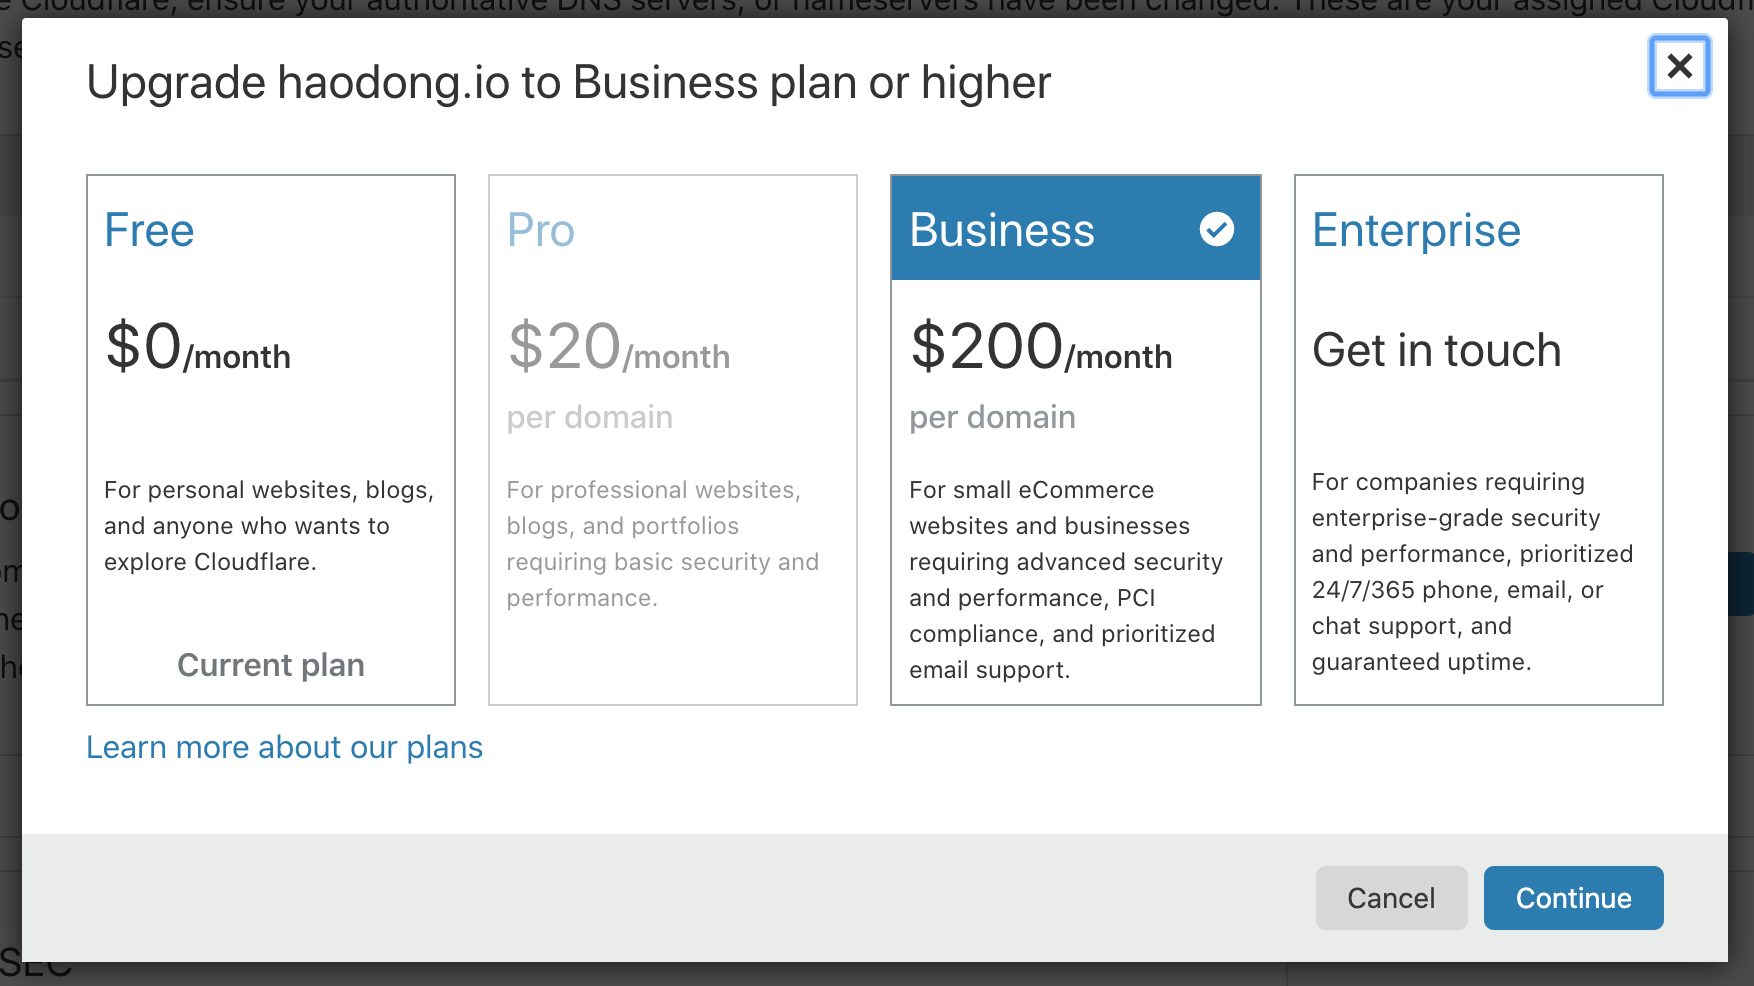
That's right, $200 per month!
Here I am with my blog that has no monetisation whatsoever. Clearly, it isn't the solution I can afford. Luckily, Cloudflare is "kind enough" to let you set up DNS records.
Add a custom domain on Netlify
Go to "Domain management" section on your Netlify app, then click on the big button that says "Add custom domain".

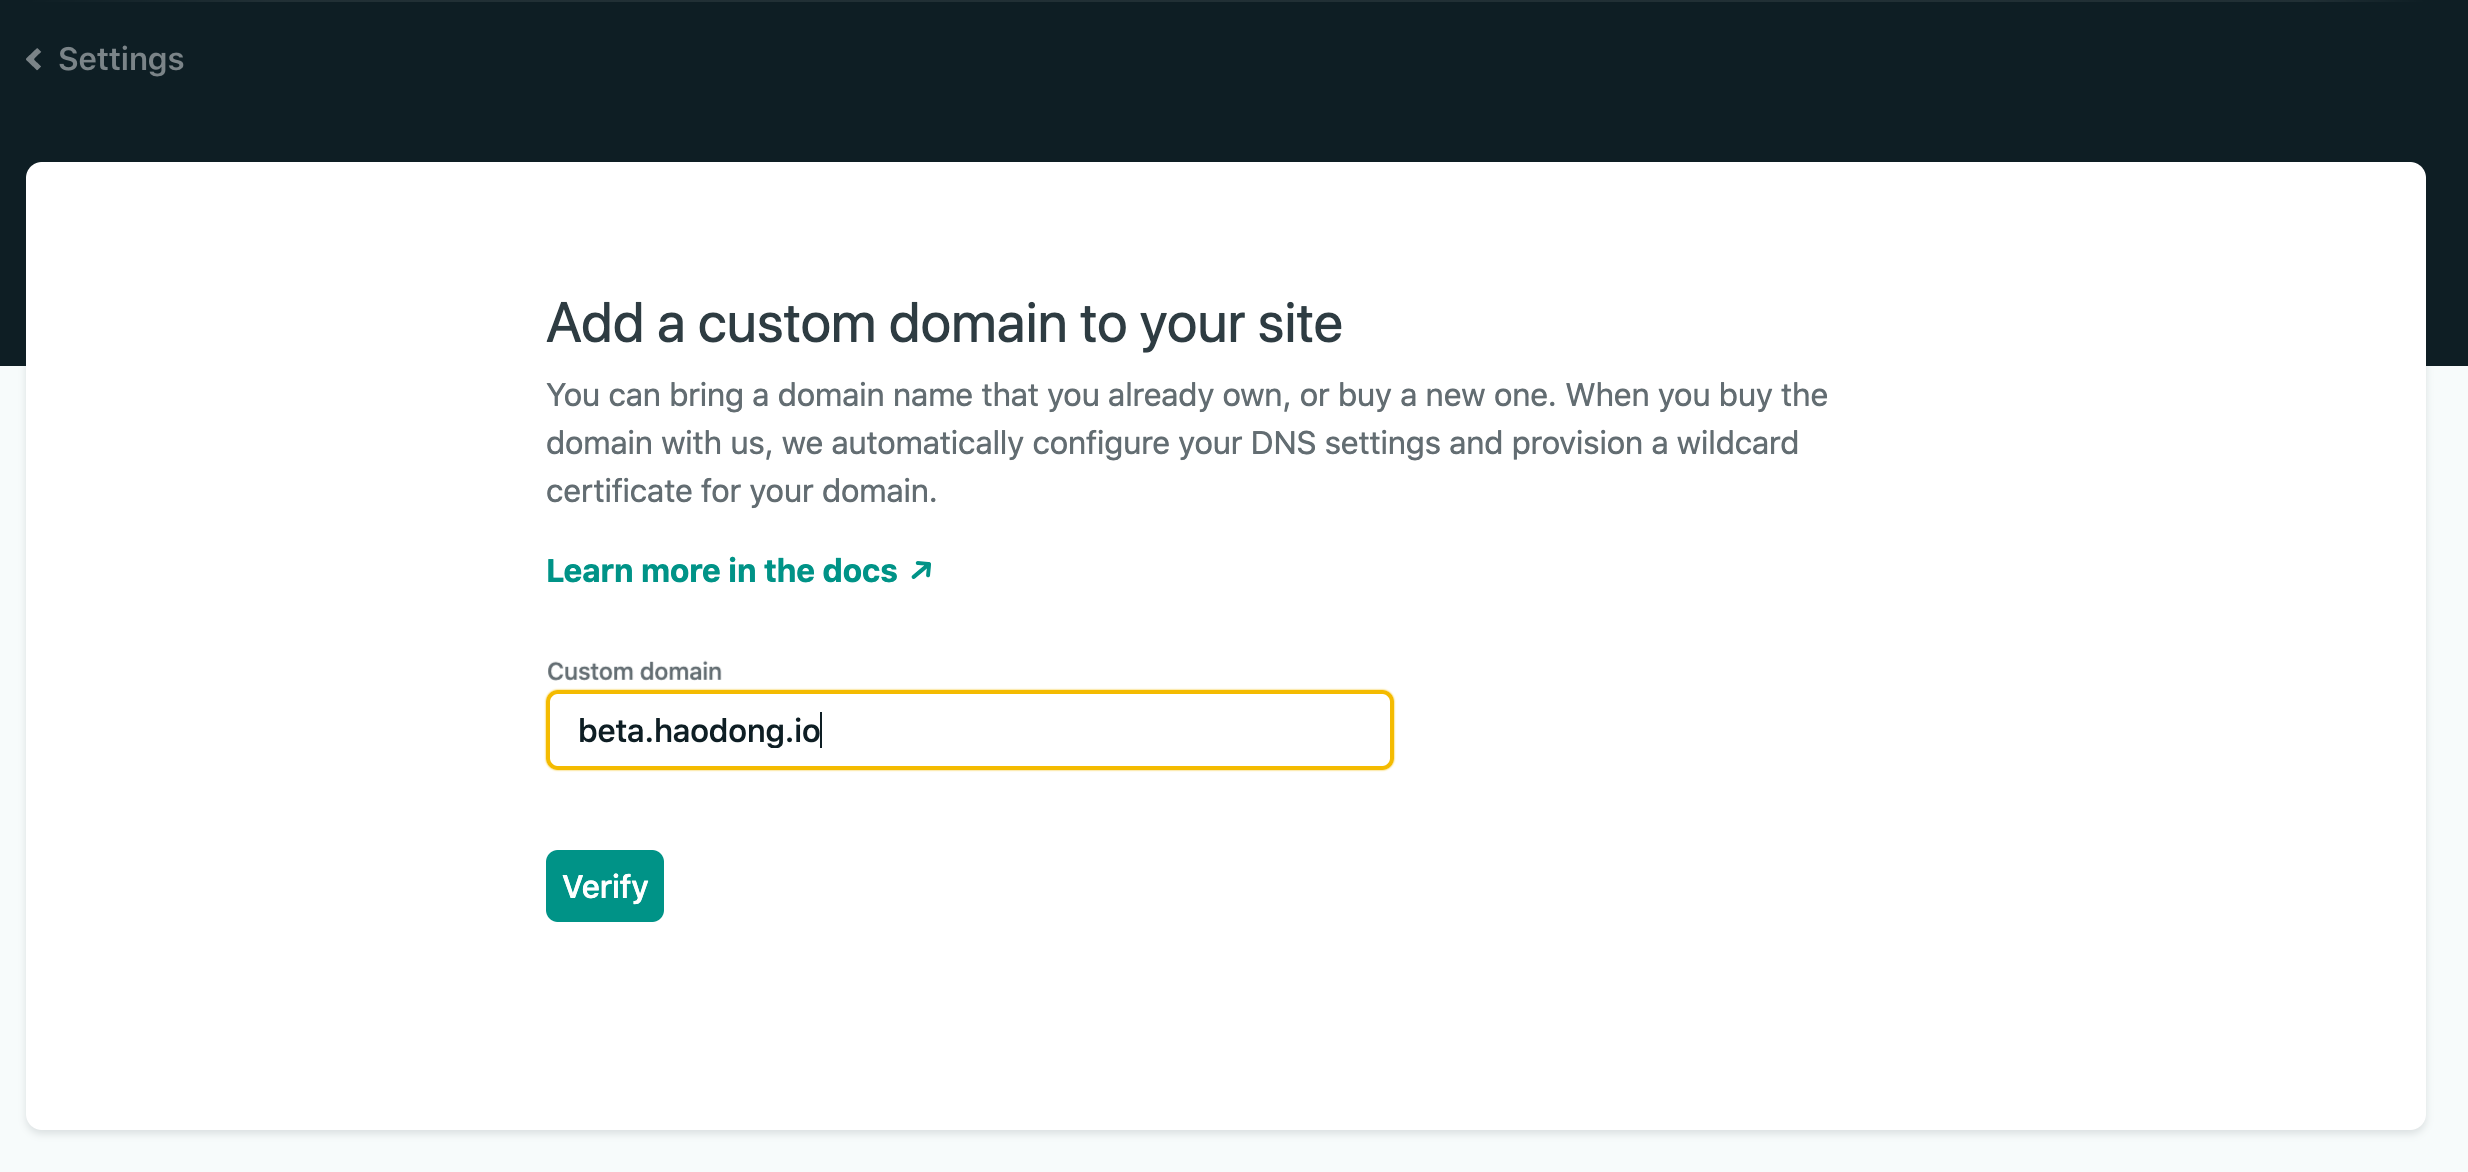
Next, it should take to you to the following page. Add in your domain name here. In this example, I'm using "beta.haodong.io", but I could be using "haodong.io" if I was setting it up for my main blog.
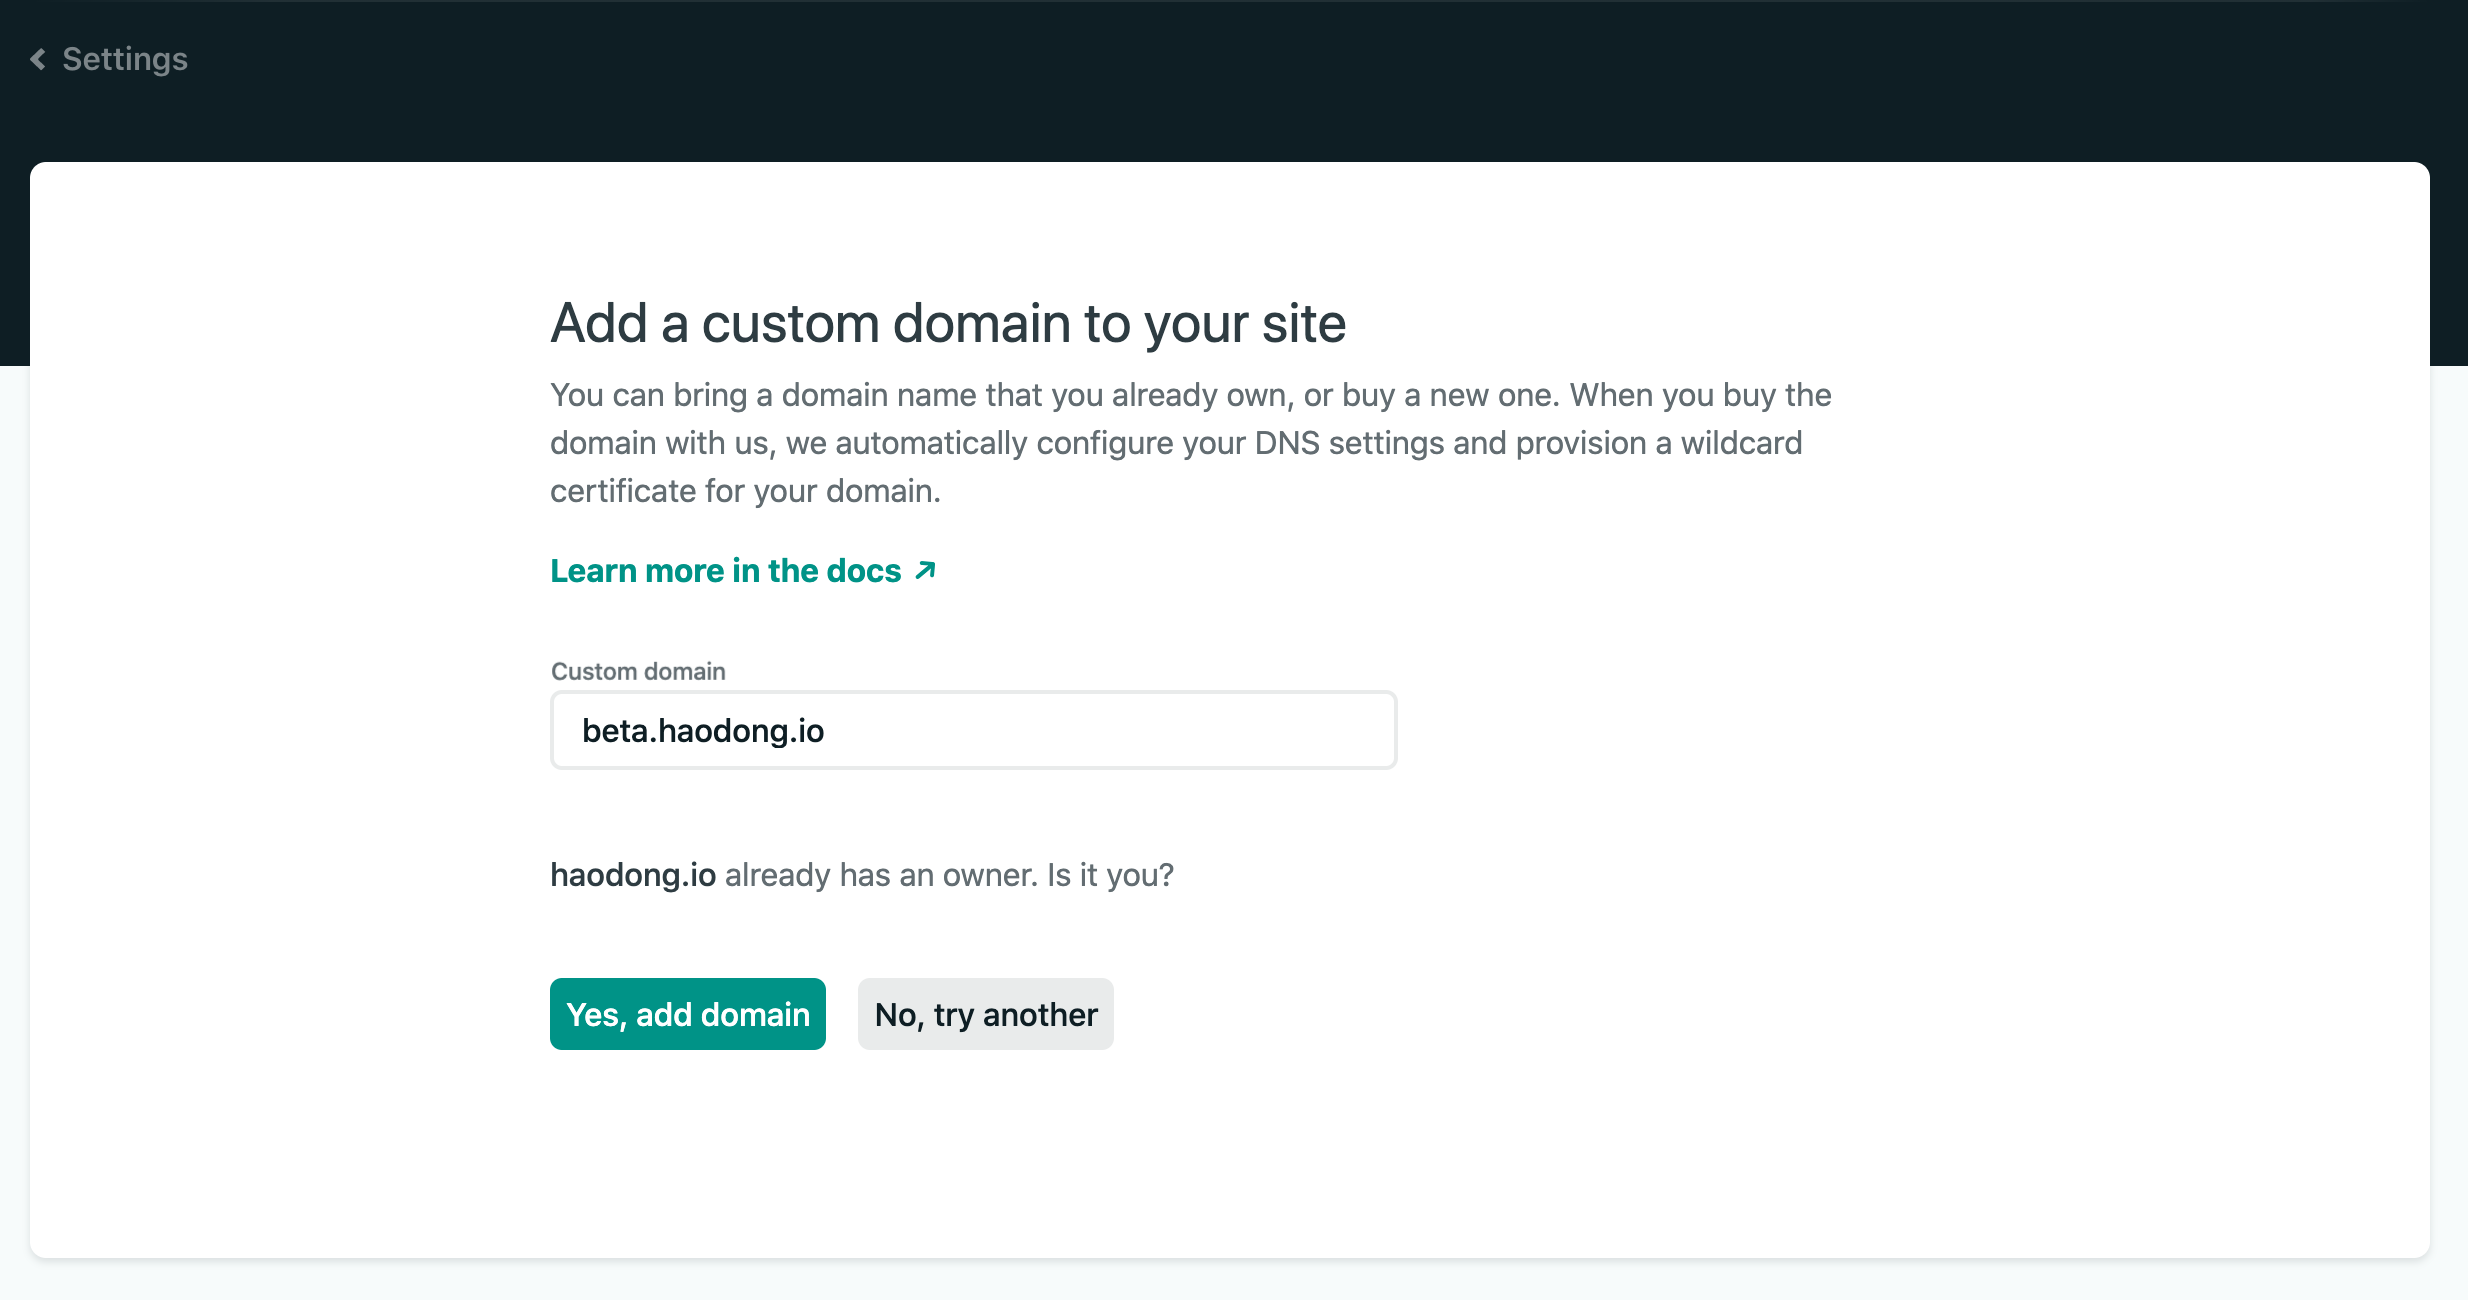
After clicking on "Verify" button, it will state that the domain already has an owner. This is expected since the domain is now Cloudflare. Just click on "Yes, add domain" and continue to the next step.
Now you can see "beta.haodong.io" has been added to the custom domain section, although it is greyed out.
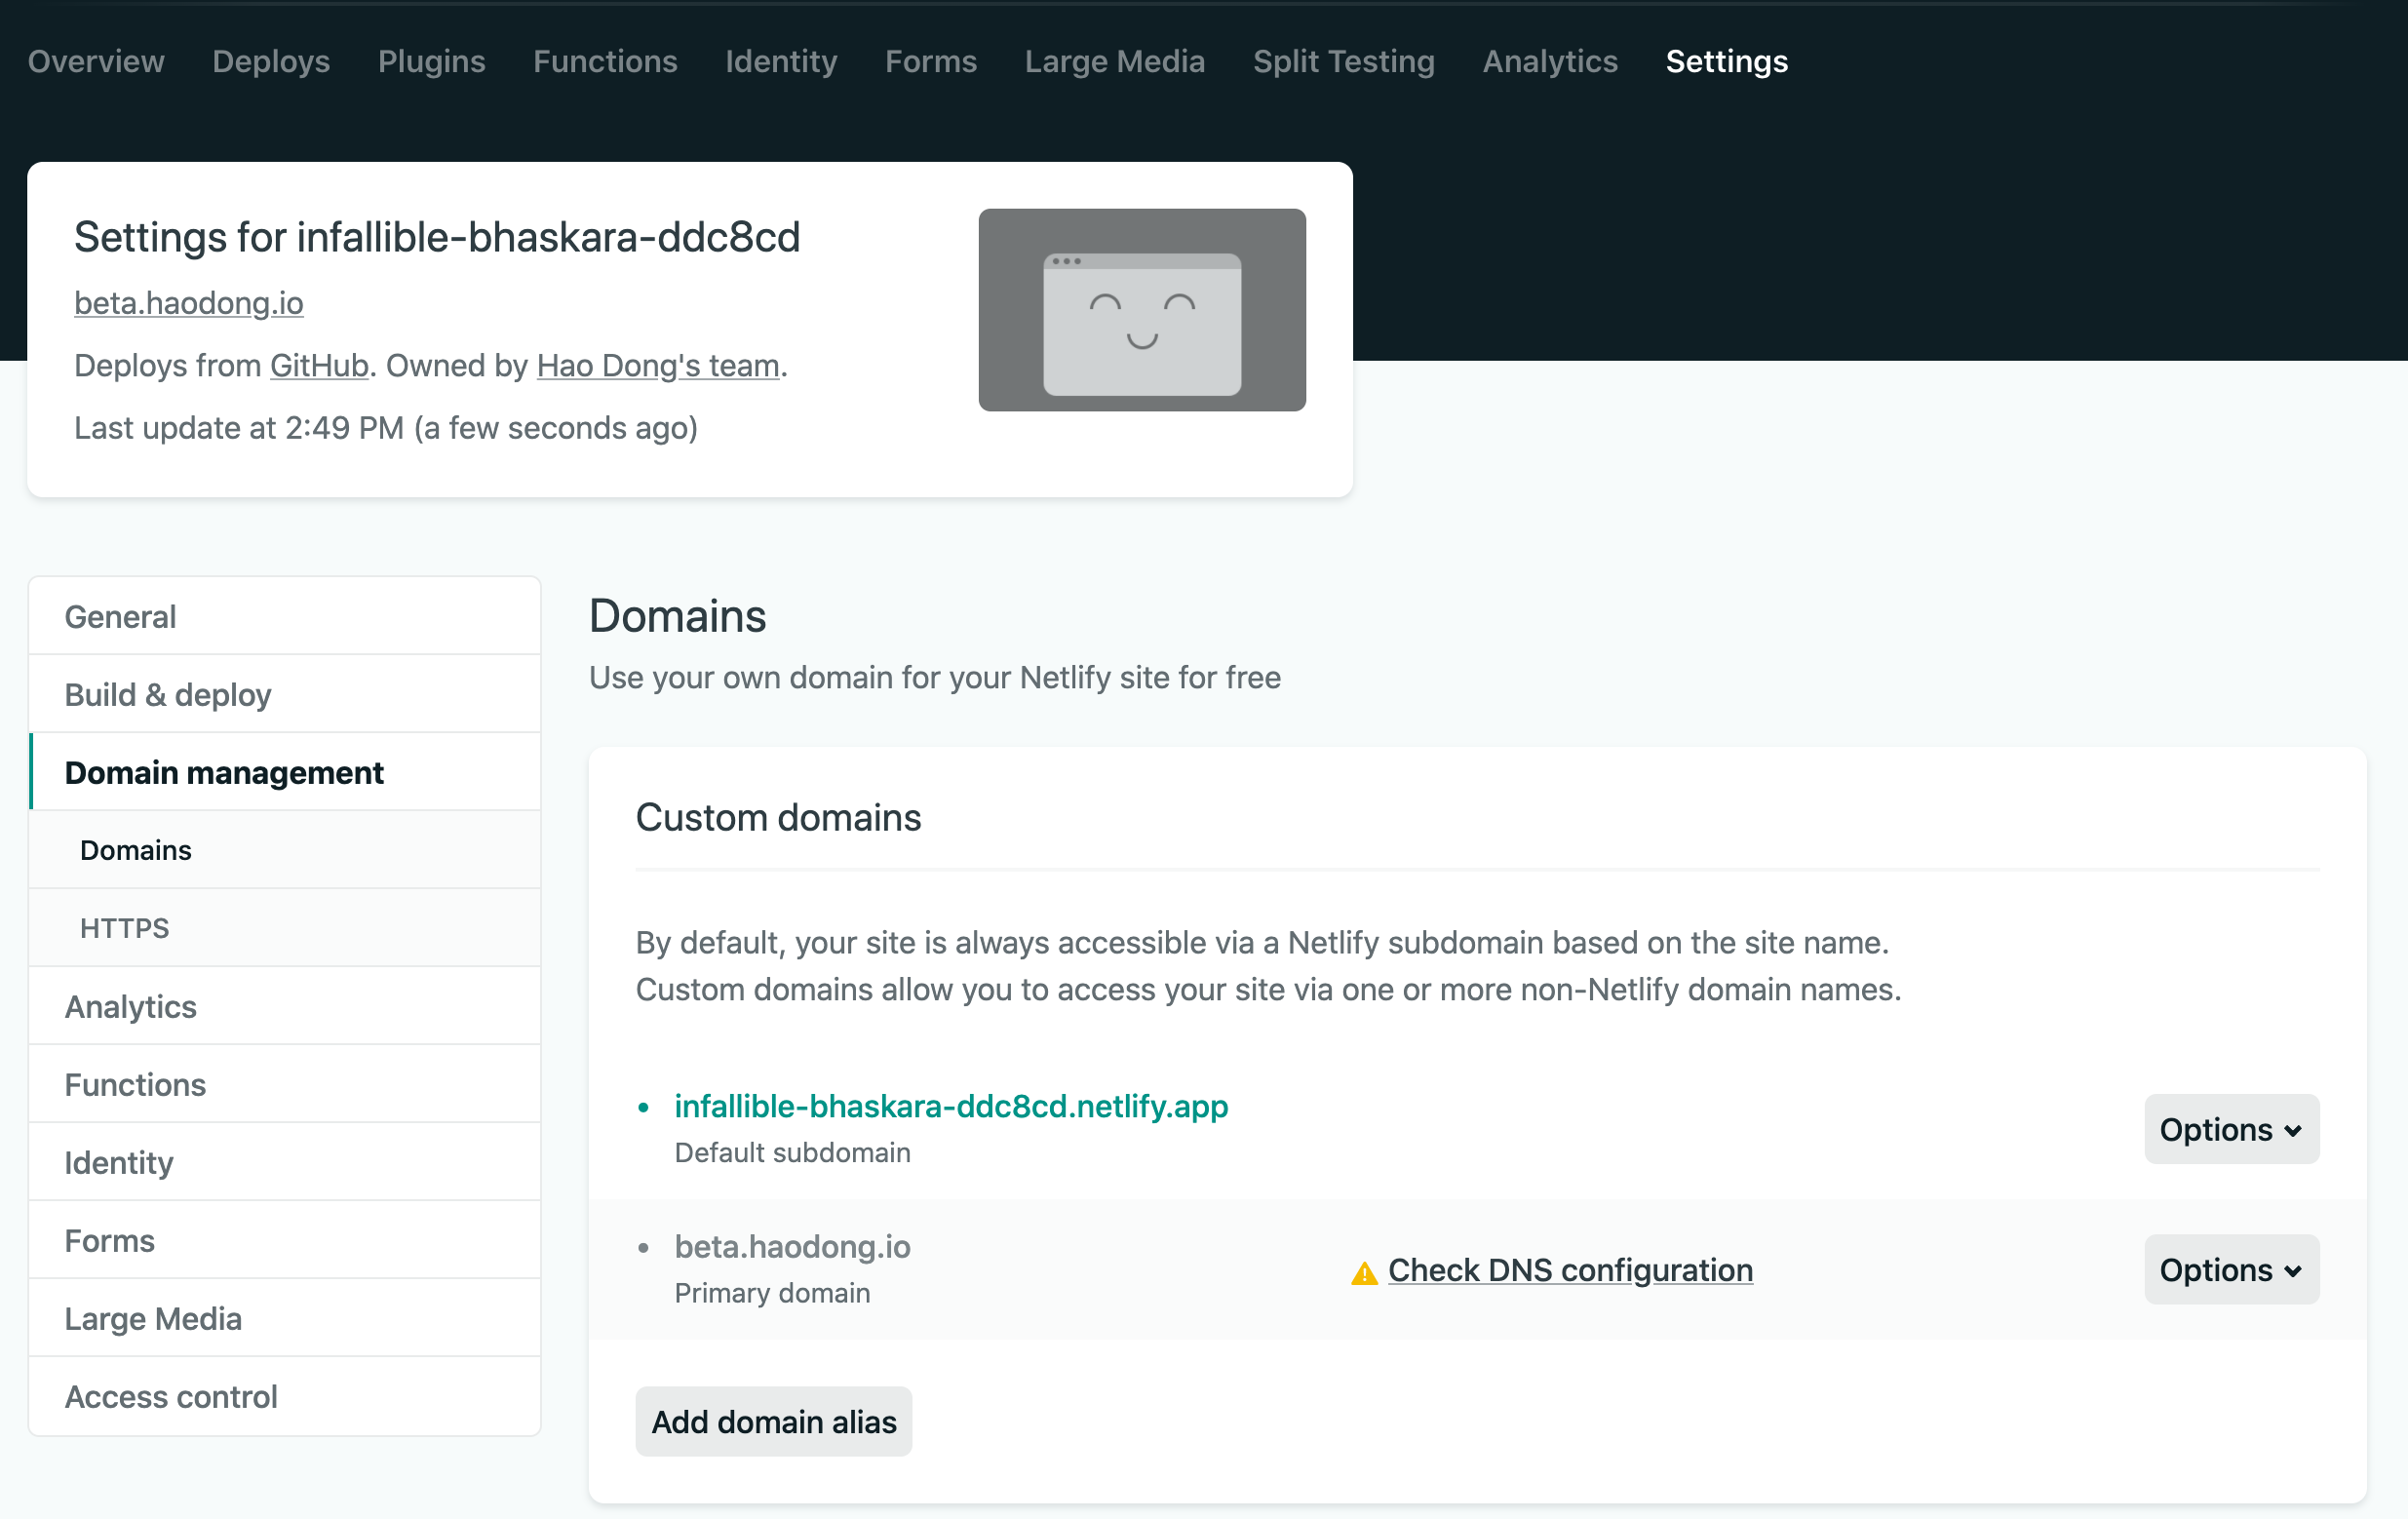
Click on "Check DNS configuration" link, and then you should be presented with the following modal.
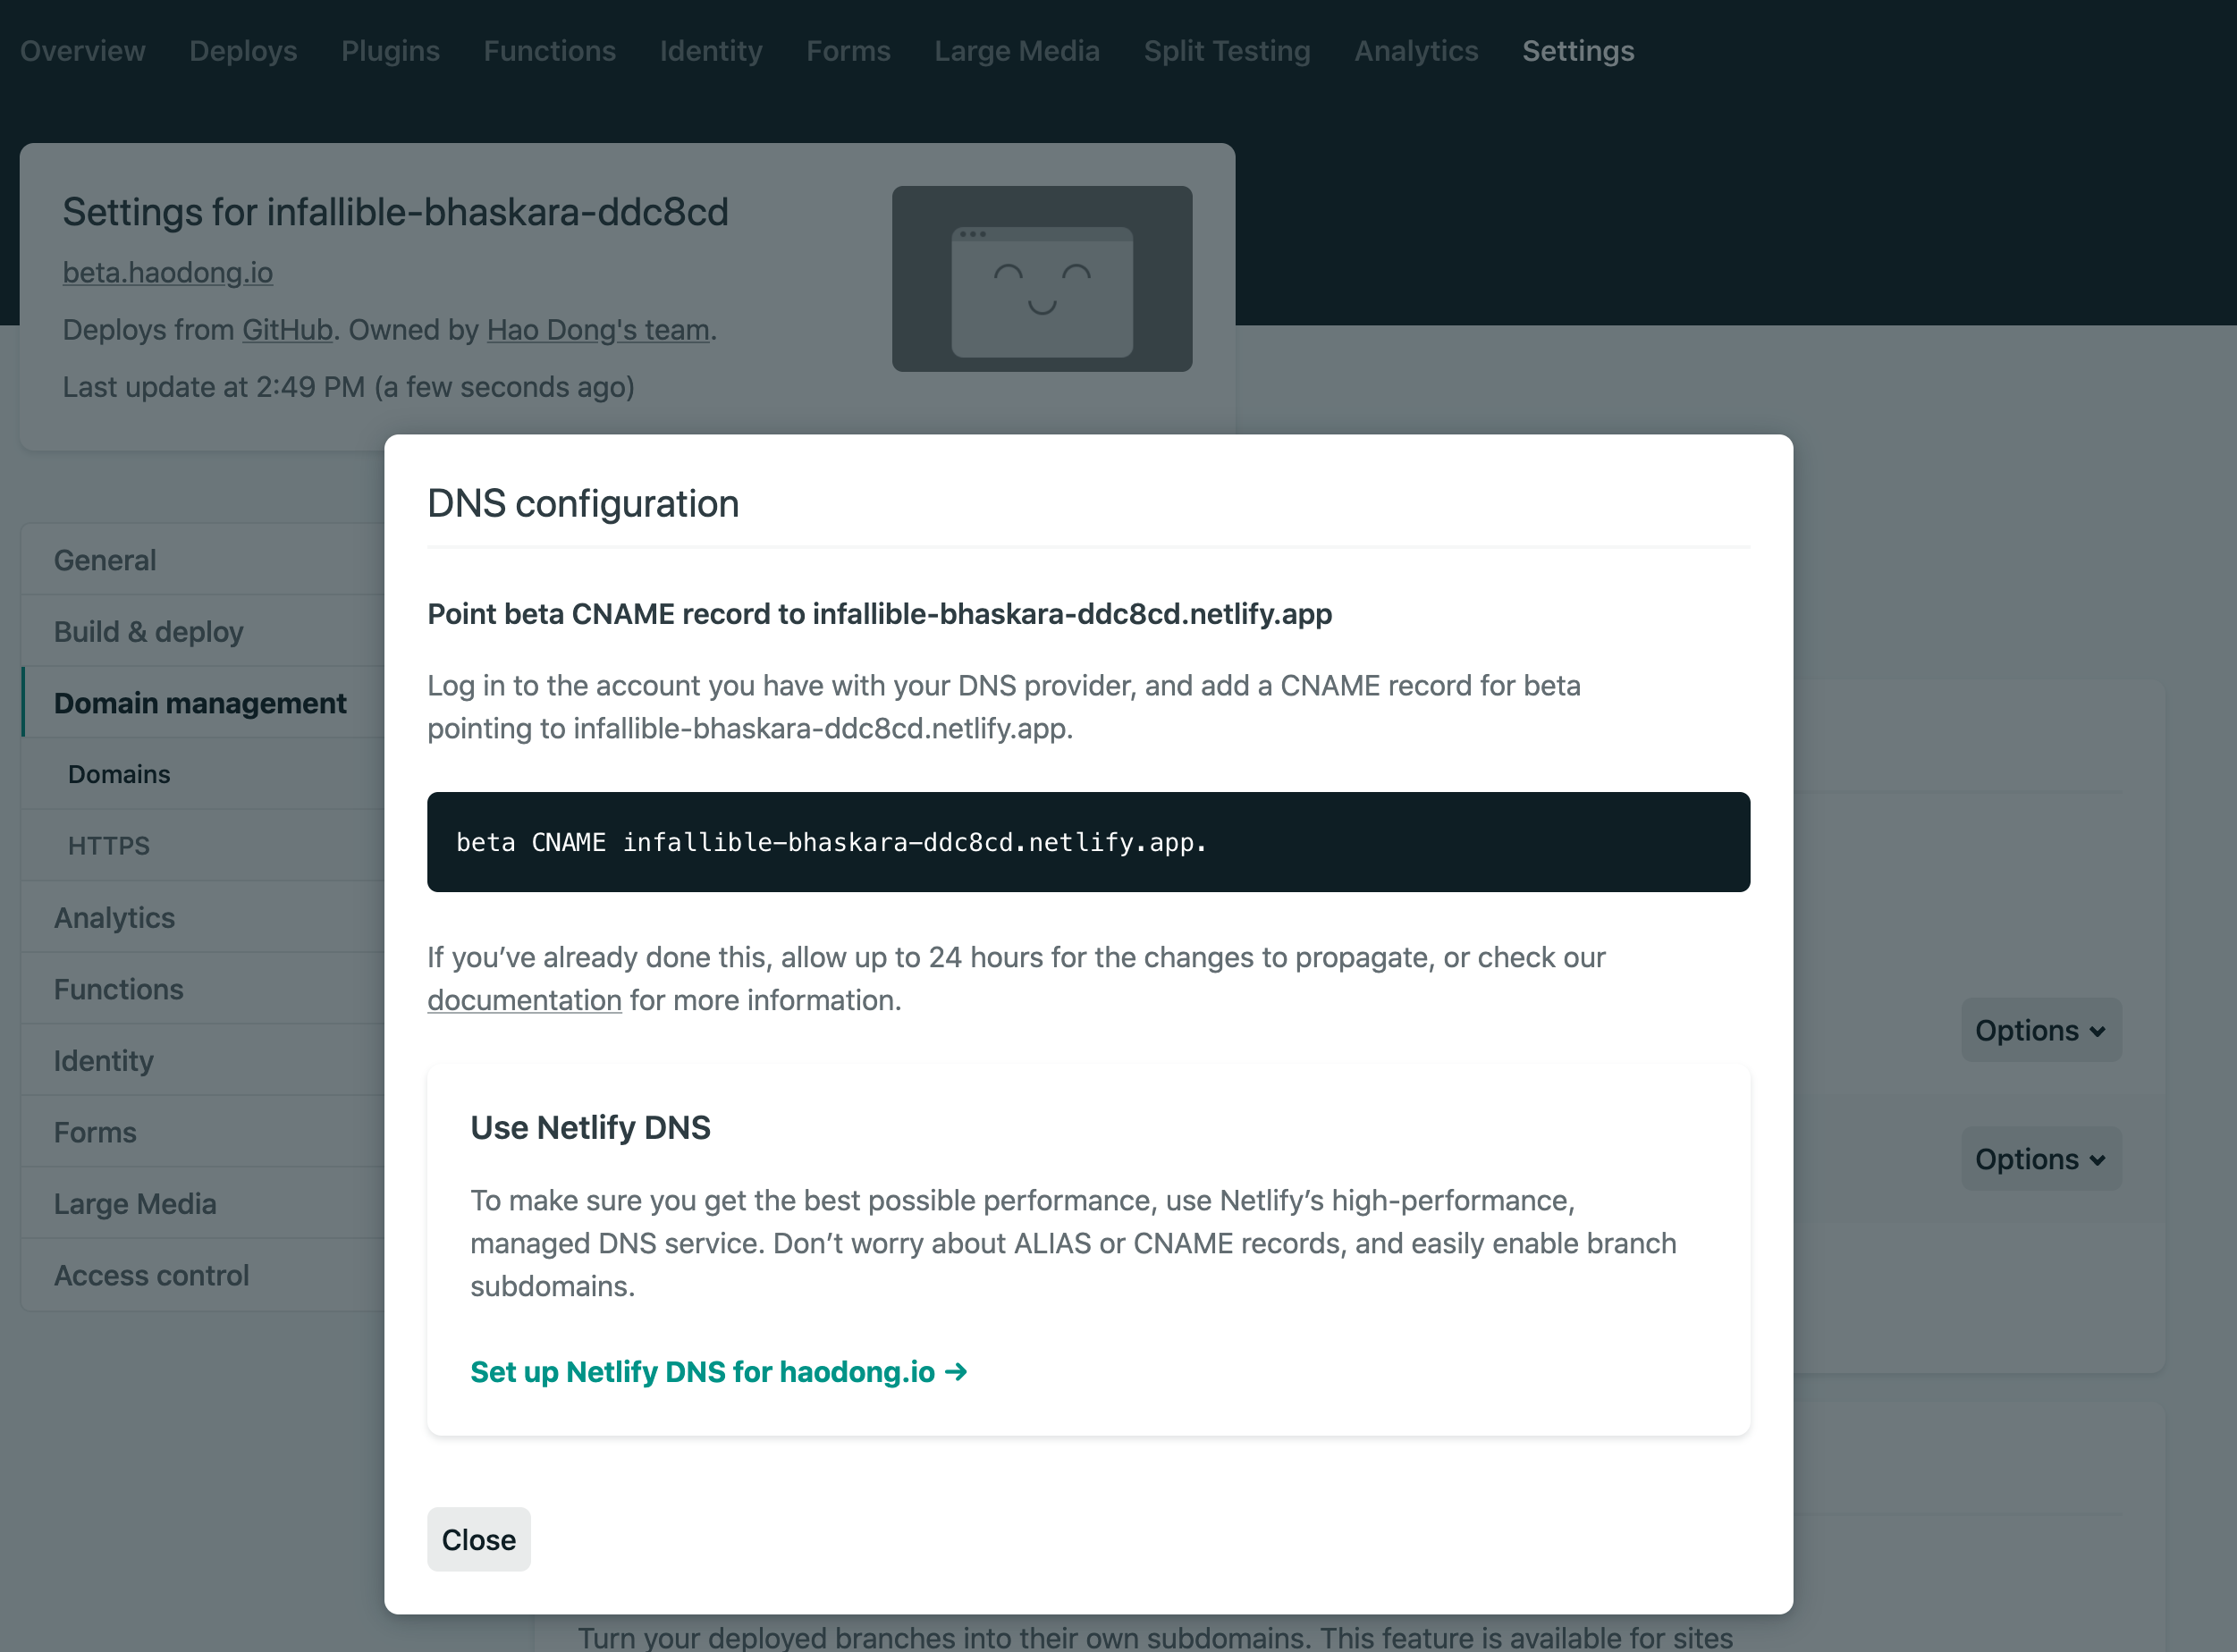
beta CNAME infallible-bhaskara-ddc8cd.netlify.app is the DNS record we need to add to our domain on Cloudflare.
Add DNS record on Cloudflare
Click on the "DNS" button in the top navigation bar.

Then you should see the current DNS records, I've greyed out mine just in case.
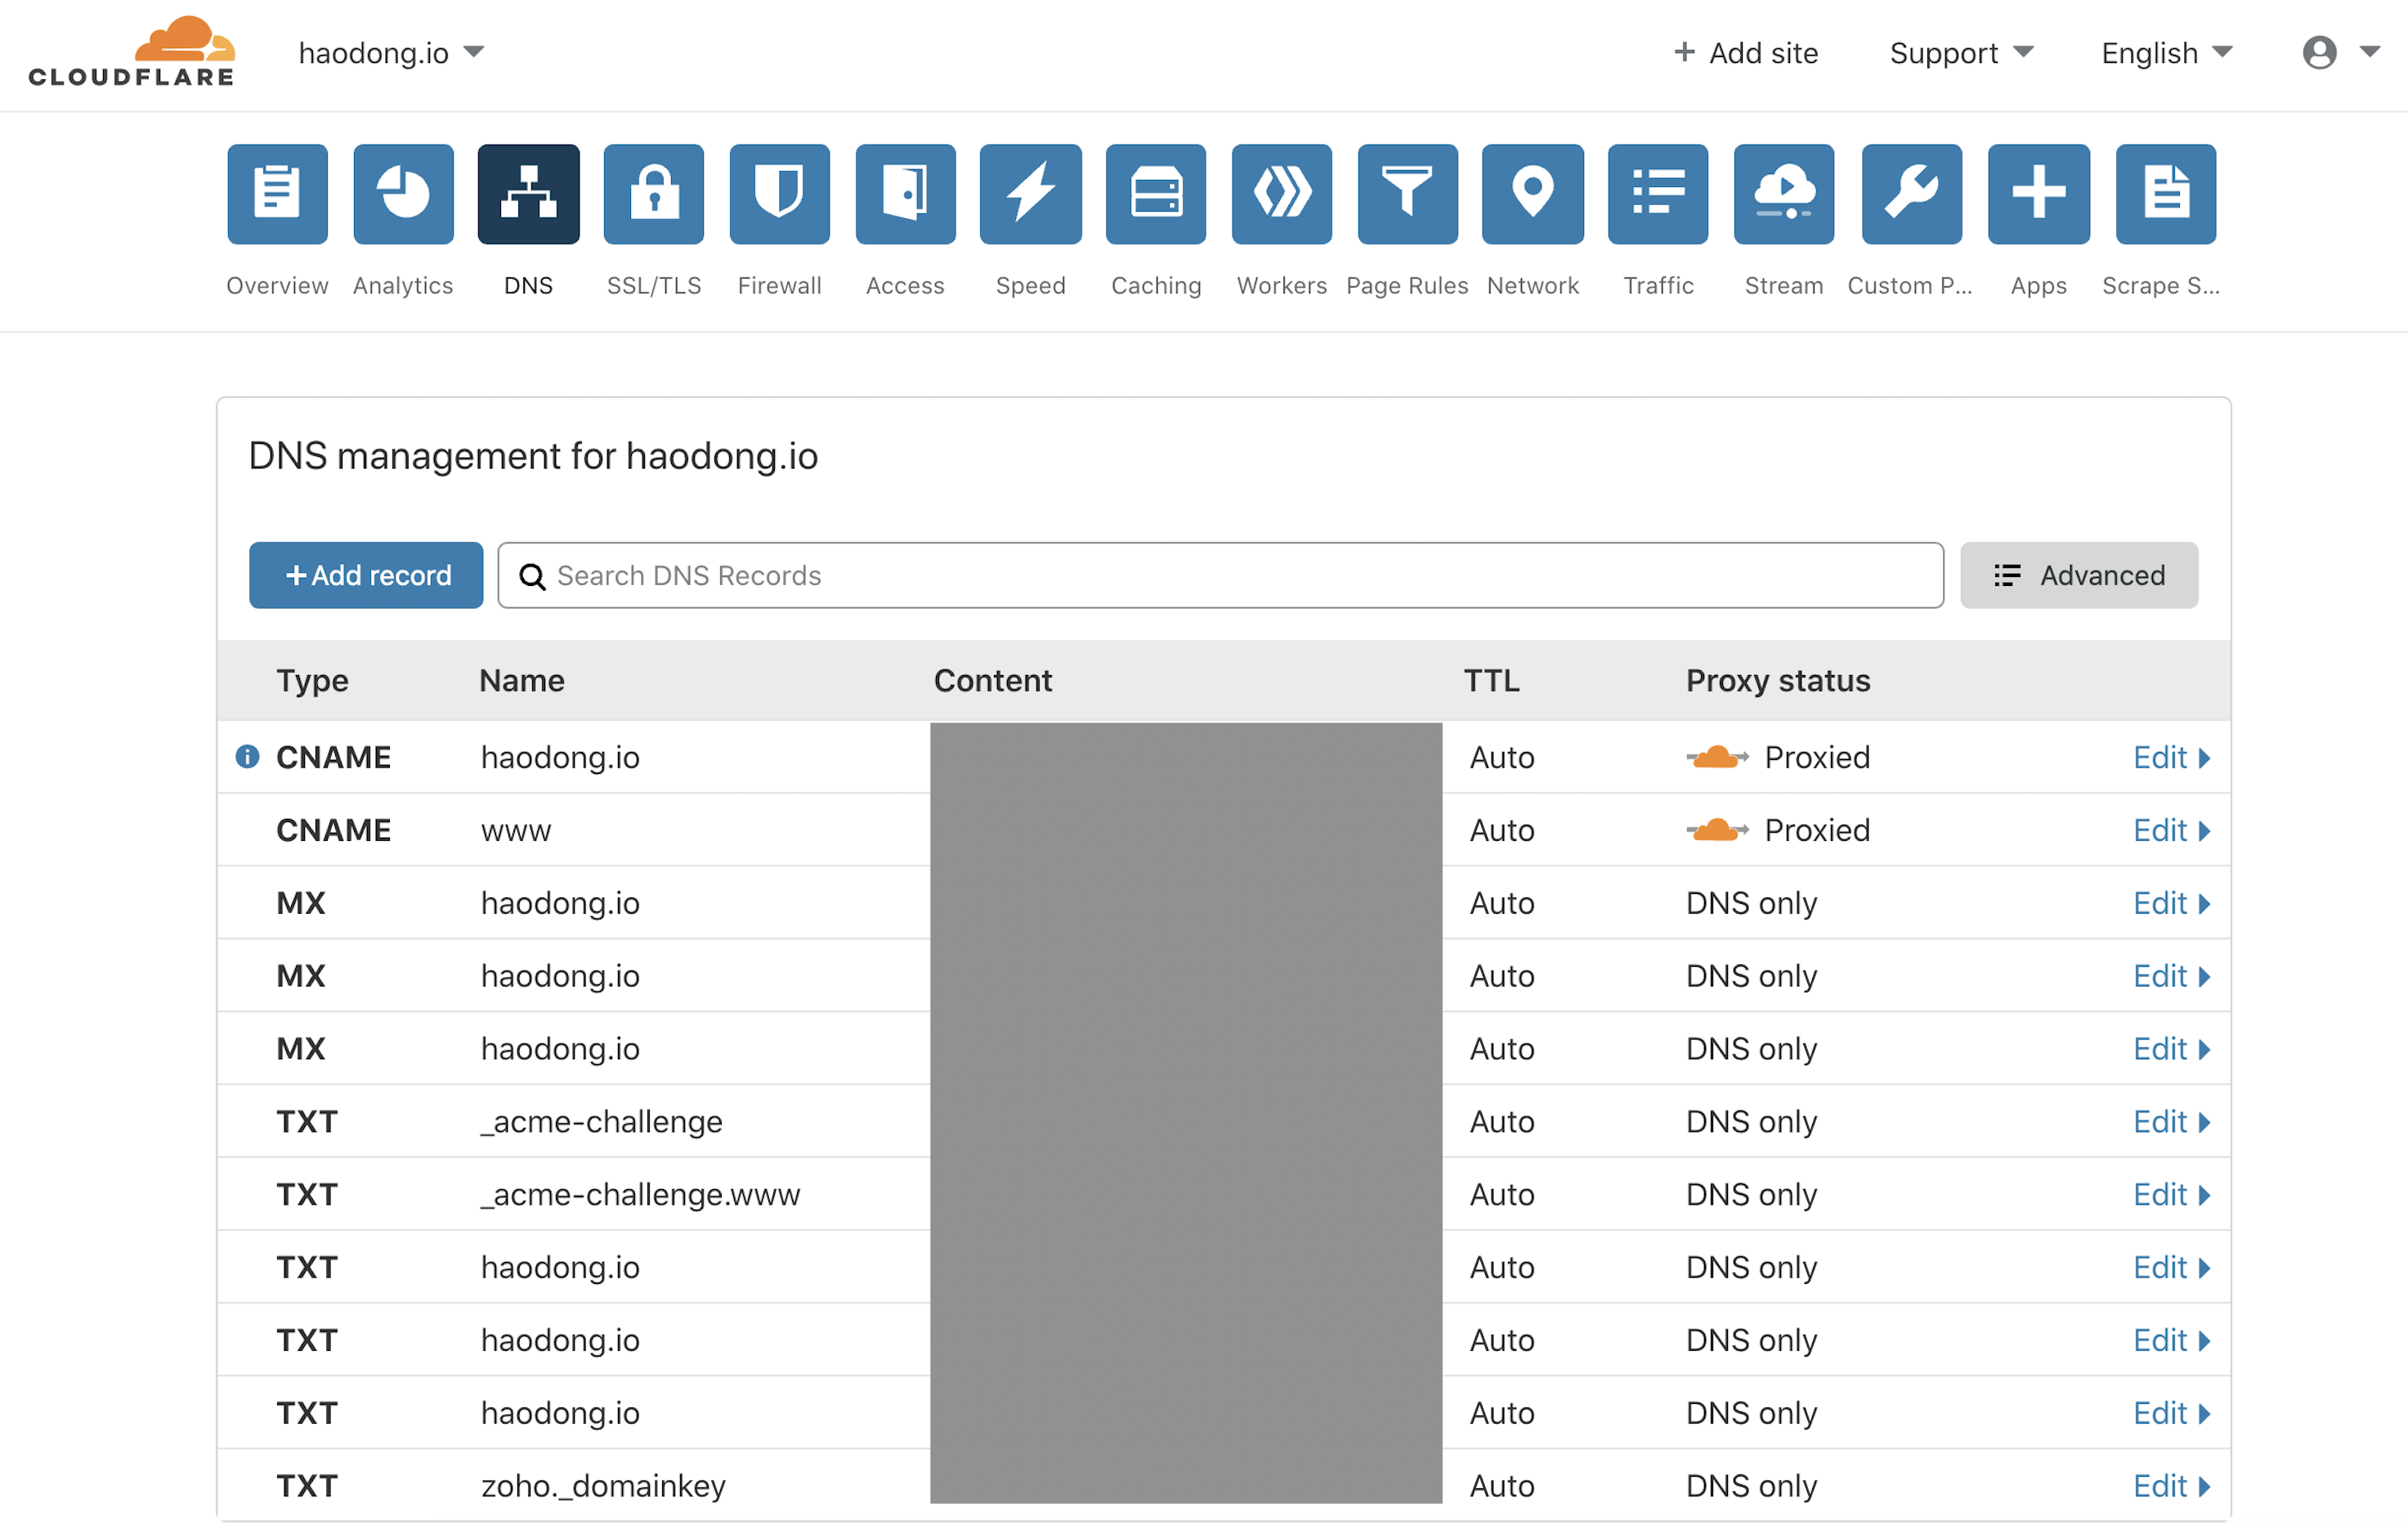
Click on "+ Add record" then you should see the following form dropping down. I have added the record Netlify told me to, and you should do the same since you use case might be slightly different.

Then wait for a few minutes (for me it was seconds), go to your domain and it should now work as expected.
Things to note
- Remove domains from Netlify altogether if you previously used Netlify DNS for the domain. Otherwise, it will get very confusing when attempting to debug any problems. You will confuse Netlify as well since now it will try to generate SSL/TLS certificate for your domain.
- As mentioned at the start of this article, you should try to use Servername and point to Netlify DNS preferably. The approach explained in this article is hackier, in my opinion. Netlify DNS has all the benefits of Cloudflare in terms of optimising assets, caching optimisation, post-processing, etc. If you are like me, who have different apps running on separate subdomains, then it is a lot easier to manage if Netlify manages the DNS.
