 Hao's learning log
How to set up Site Preview with Contentful, Gatsby and Netlify
It has been a while since I wanted to get preview working for my blog. There is a lot of custom styling on my blog site, and often things don't look quite right when I publish an article for the first time. This often means it will take a few republishes before getting everything nailed. If someone were to visit my site during this stage, it wouldn't have been good user experience. So I was always curious about the Preview function on Contentful. Last night, I decided to take a stab at it after seeing this contentful doc. It looked easy enough, but as always, I encountered some issues. After getting everything working, I thought I'd share my solution on here, maybe it'll help someone else out.
The complete setup flow
This article assumes that you have all the pre-requisites set up and configured already, which includes:
- Using Gatsby static site generator
- Have a site hosted Netlify with the build passing
- Content is hosted on Contentful
- All the normal integration between Netlify and Contentful are done, only missing the preview functionality
1. Install Netlify App on Contentful
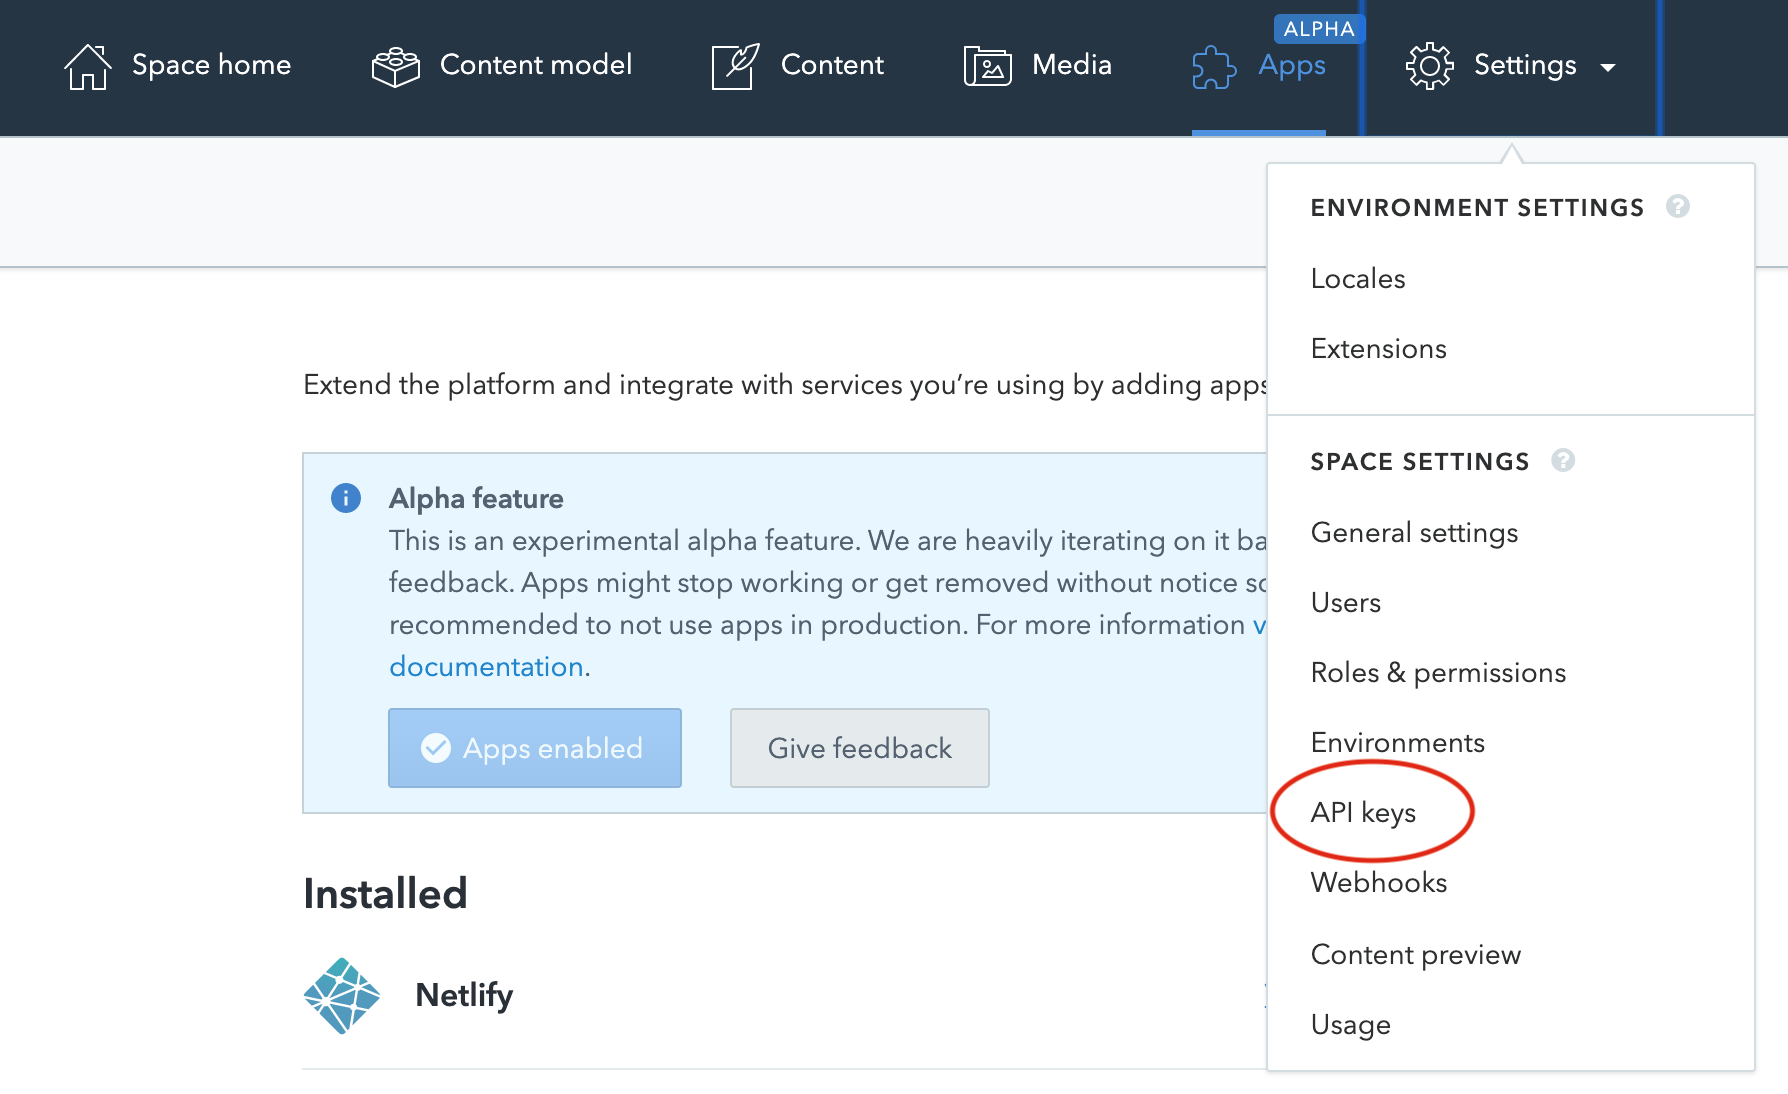
Click on Apps in the Contentful menu.

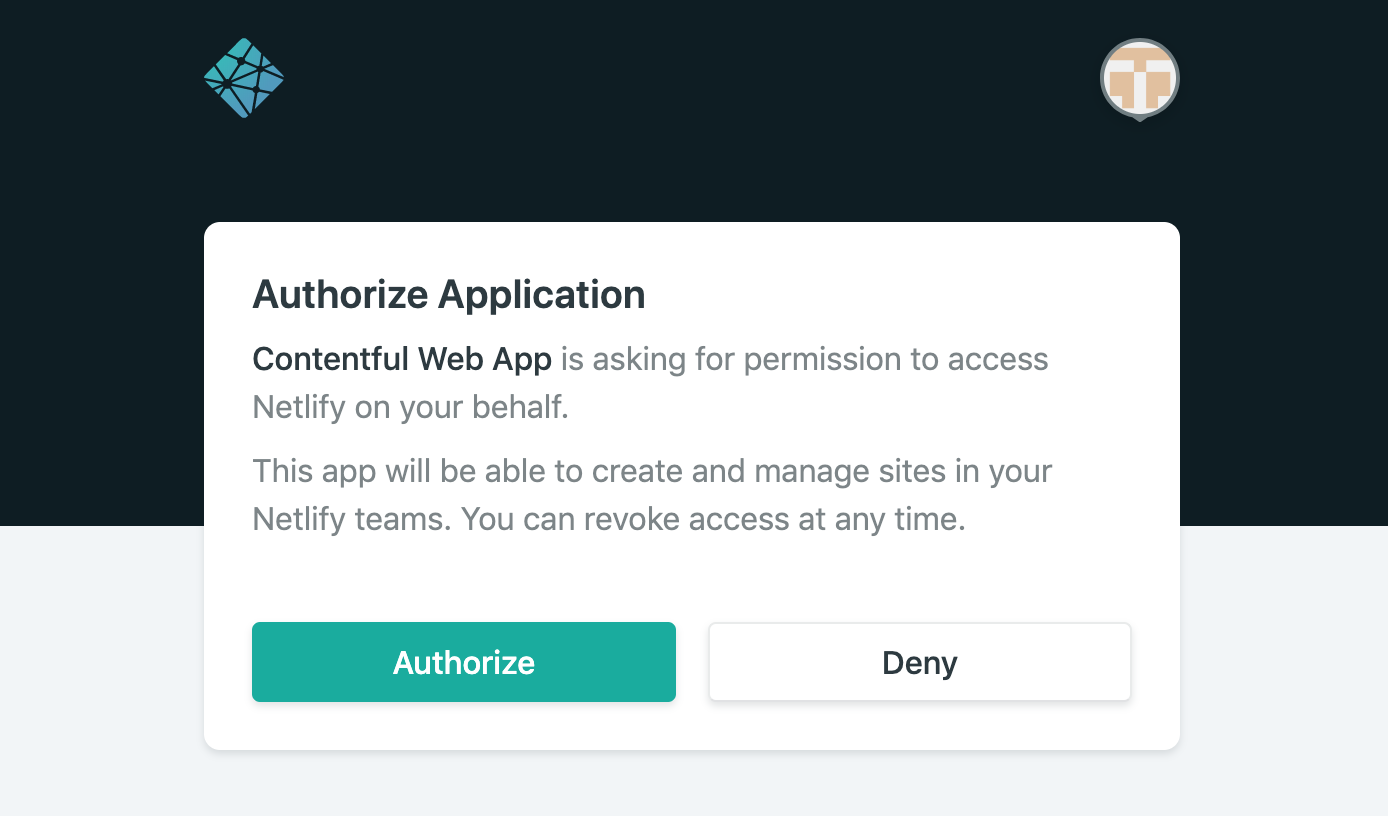
Then click on Netlify in the list of supported apps. This will bring up a modal, simply click on "Authorize" button. If you are logged into Netlify already, then it will self-close.
2. Configure sites on contentful
Use the dropdown to chose a site on Netlify you want to build. Usually, it makes sense to have two sites to build production (using the Content Delivery API) and preview (using the Content Preview API) versions of your site.
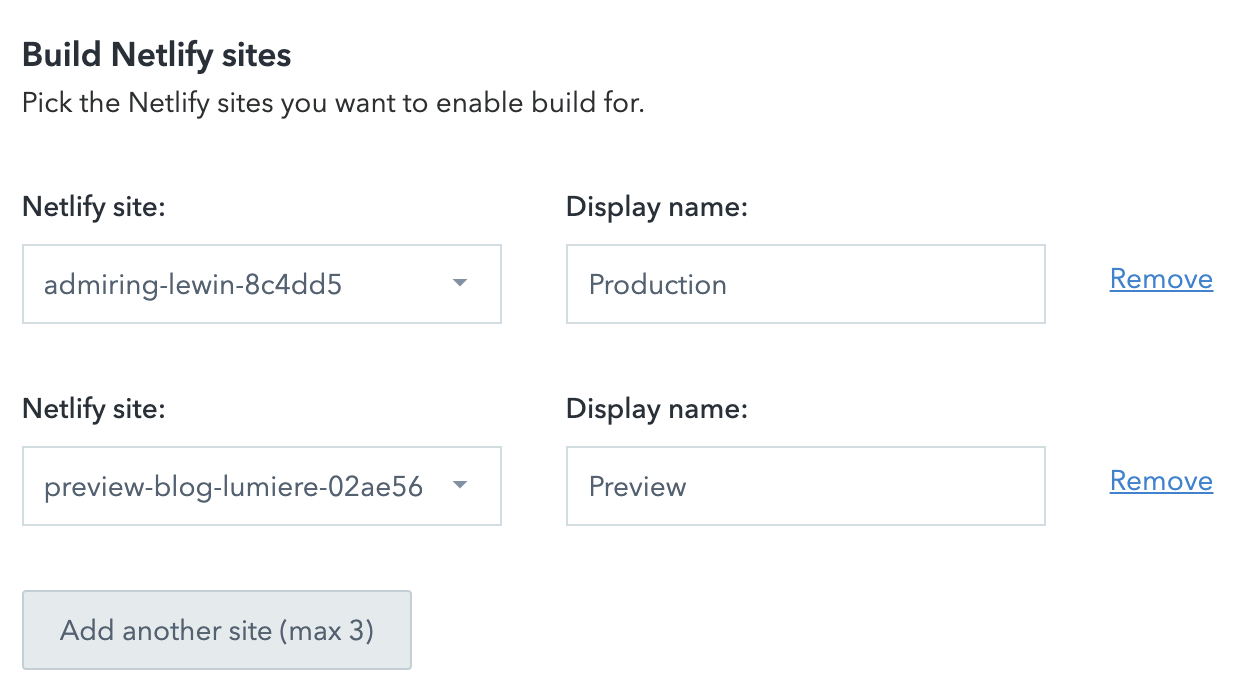
Once Netlify App has been authorised, the next step is to configure the Production and Preview sites.
I recommend go to Netlify and duplicated the site again, so we have one site for Production build and another for Preview build. This is due to for Preview build, we need to use a different accessToken compared to Production build. Having two sites on Netlify means we can rely on one of them for preview builds without affecting the production site.
If you haven't done it already, I also recommend moving accessToken and other sensitive API data into .env file and then add it to ignored file list (e.g. gitignore) so it doesn't end up in version control.
The image below shows where you can find the API keys on Contentful.
3. Update site code
In order to build preview, we need to modify our Gatsby code a little. More specifically, the configuration file gatsby-config.js.
Add host into the options we pass into gatsby-source-contentful. The value should be preview.contentful.com for Preview and cdn.contentful.com for Production.
See the snippet below for how I've done this.
// .env
CONTENTFUL_ACCESS_TOKEN=xxxxxxxxxxx
CONTENTFUL_SPACE_ID=xxxxx
CONTENTFUL_HOST=preview.contentful.com

// gatsby-config.js
require('dotenv').config()

module.exports = {
    plugins: [
        {
              resolve: 'gatsby-source-contentful',
              options: {
                  spaceId: process.env.CONTENTFUL_SPACE_ID || '',
                  accessToken: process.env.CONTENTFUL_ACCESS_TOKEN || '',
                  host: process.env.CONTENTFUL_HOST || 'cdn.contentful.com'
              }
          }
    ]
}
4. Netlify Content Preview
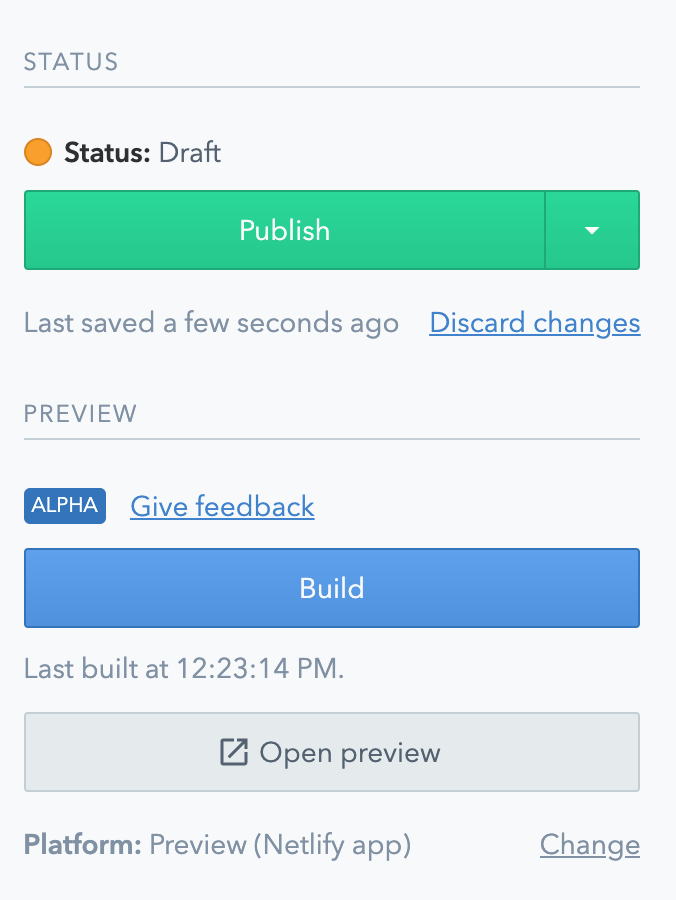
The way to use Preview feature is by opening up a piece of content, then on the right-hand side you can click on "Build" to trigger a build or "Open preview" to see the page in action.
Issues I encountered
Invalid Contenful spaceId/accessToken
When I try to build using the Preview API accessToken, I get the following error.
Accessing your Contentful space failed. Perhaps you're offline or the spaceId/accessToken is incorrect.
Try running setting GATSBY_CONTENTFUL_OFFLINE=true to see if we can serve from cache.
It is saying spaceId/accessToken is incorrect, but I know for sure both of these are correct because I copied from the API page on Contentful. I tried to check out any documentation on Contentful but found nothing. Surprisingly, there were very few questions asked about this online as well. Maybe because it is still quite new?
It turns out the solution is exactly what I explained in step 3 in the previous section. I had to add host into the options we pass into gatsby-source-contentful. It seems in order to retrieve draft documents from Contentful, you need to hit a completely different endpoint, hmmm interesting.
Failed to create a page
The second error I came across was thrown by gatsby-node.js, complaining that it couldn't create a page because there are a lot of null values.
Your site's "gatsby-node.js" must set the page path when creating a page

{ path: null,
  component: '/Users/hao/Documents/workspace/gatsby-blog/src/templates/blog-post.js',
  context: { slug: null } }
error See the documentation for createPage https://www.gatsbyjs.org/docs/actions/#createPage
After I did some investigation and printed out the code that failed, I realised this error was caused by the fact I had a blank draft saved. The missing mandatory fields were causing all these error when Gatsby tries to create a page for that record.
So if you encounter the same or similar errors, maybe check Contentful contents and ensure all the mandatory fields are filled out.
Final Words
The benefit of the preview feature is that I don't have to trigger a production build to see what the blog post looks sitting on the site. However, the build time is still quite long, so the "write something" and "see the changes" process can still be further improved. But that's a problem for another day!
