 Hao's learning log
Adding code syntax highlights to gatsby blog
I was recently learning about Mobx and came across a blog with nice code syntax highlighting, and thought the code snippets on my blog are both hard to read and pretty boring to look at. So it inspired me to upgrade my blog!
Here's the blog post.
A quick comparison
The blog I saw
The blog post is a very nice read, but what caught my eye and made me save it into my notes is the awesome looking code syntax highlighting on this site. I've attached a screenshot below.
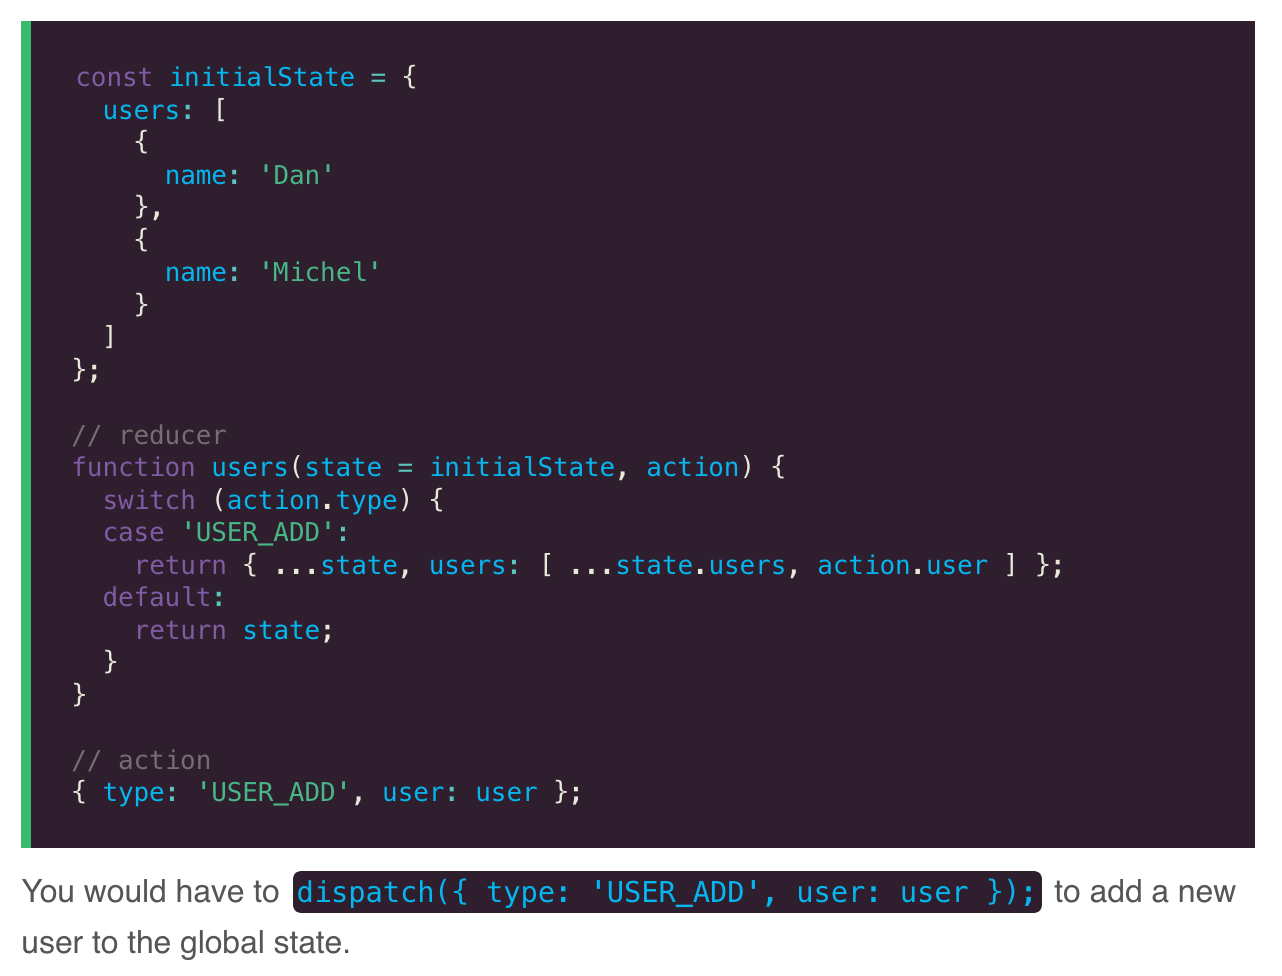
Code syntax highlighting is of course not a new thing, it is seen on a lot of blog site. Some even go as far as including the jsfiddle (or equivalent) code snippet which lets users click through and run them when reading the content.
For me, the colours really caught my eye. The bold and standout colour makes identifying code and normal text that much easier. I also really like the green padding on the left of the code snippet.
My blog - Before
Just as a reference, this is how my blog looked before I made any changes.
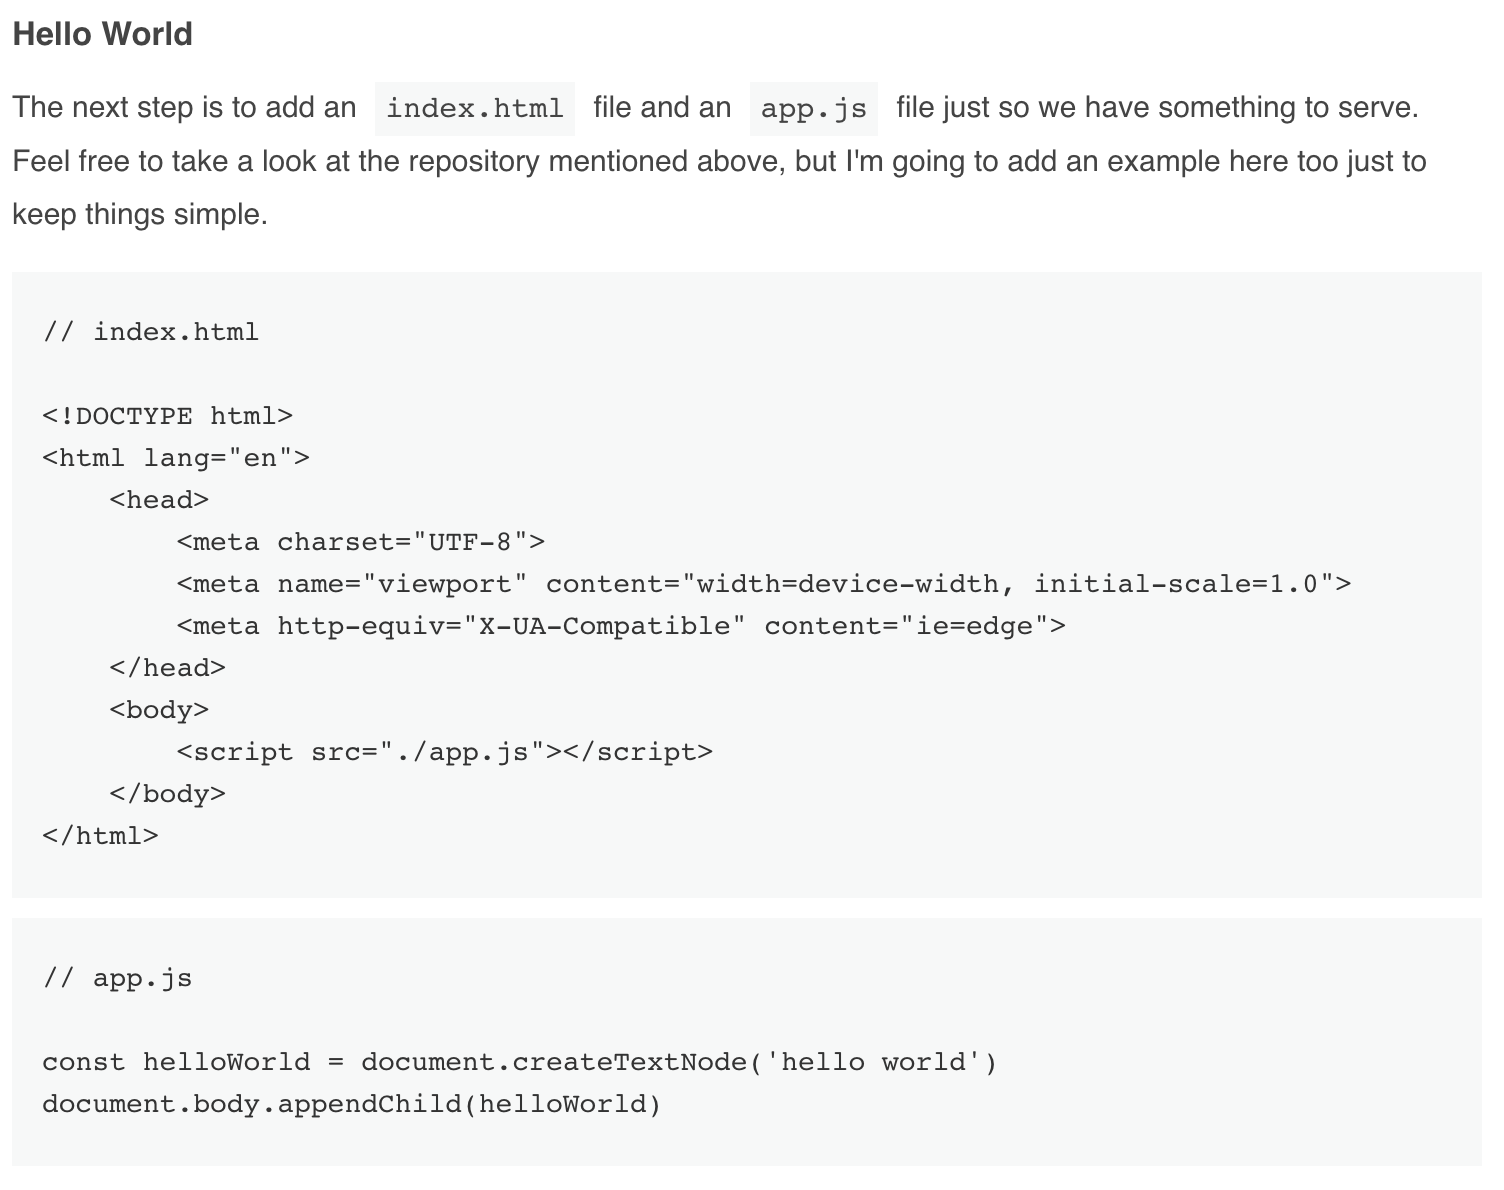
The theme was based off Cho's work. It heavily uses different shades of grey, which meant the site looked clean and minimalistic, but code in the text is not so easy to read.
My blog - After
After some tweaking, I came up with this.
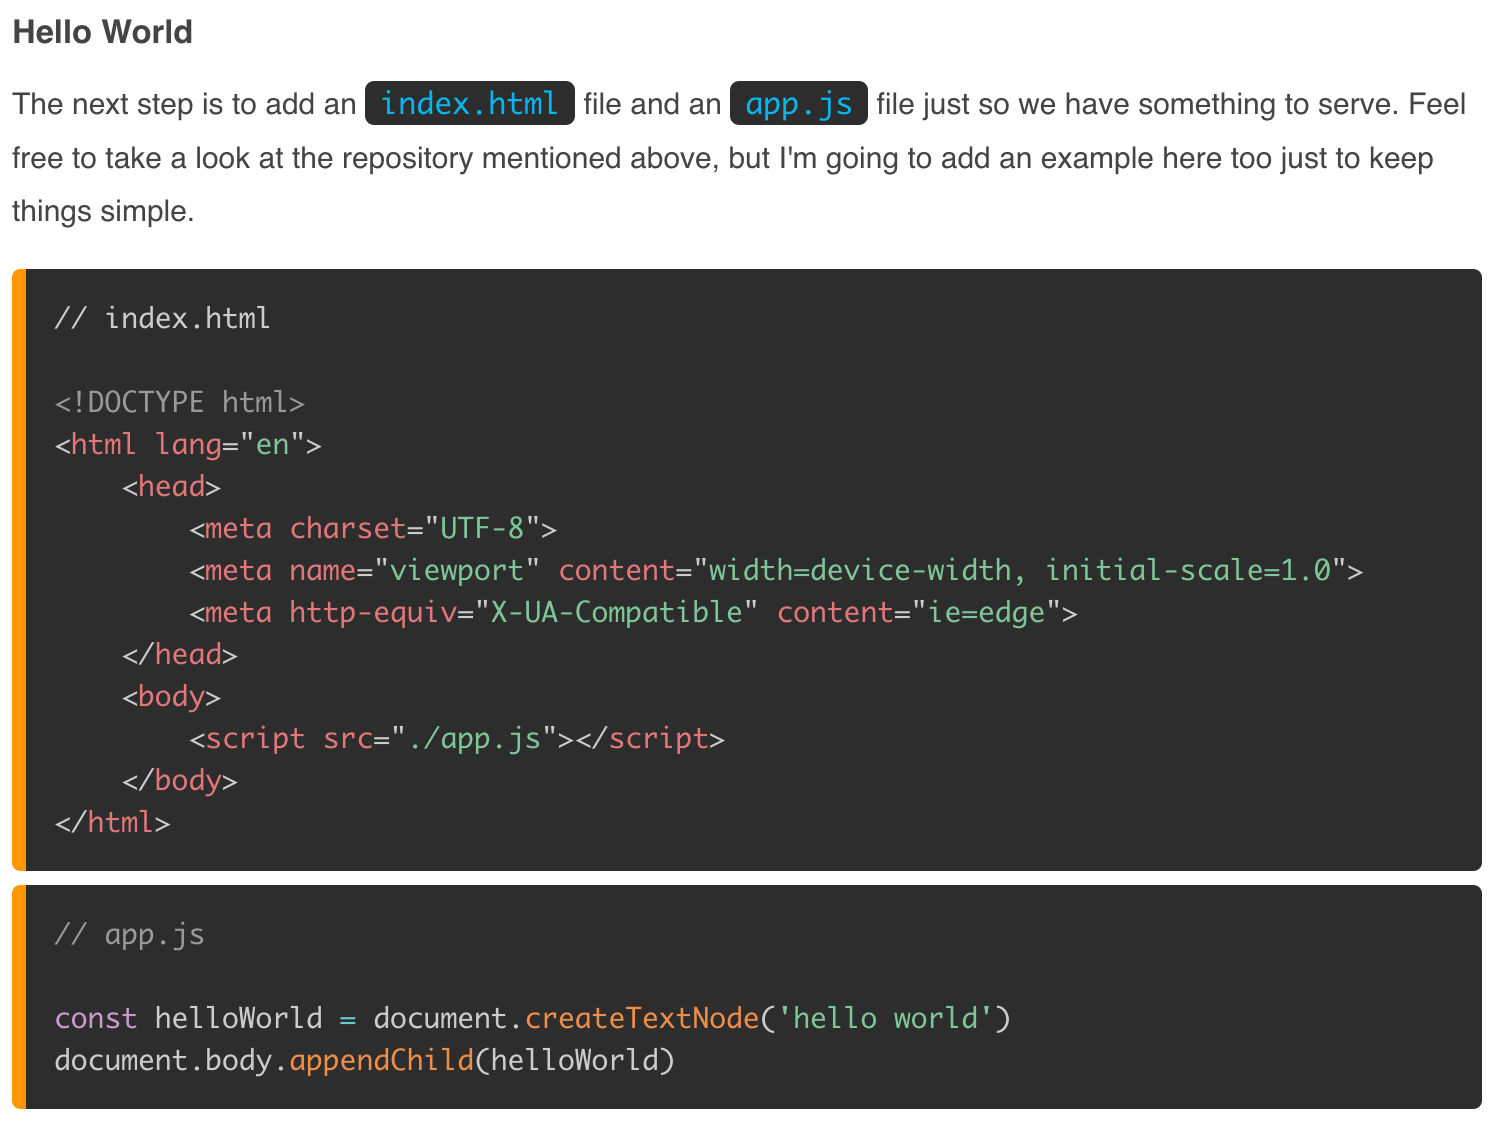
The result is a combination of the blog I mentioned above, Prism's "tomorrow" theme and some of my own custom modifications. It definitely made everything pop a bit more, but it could be a bit too much. I'll test it out for a while, and may come back and dial it down later.
How it was done
Using gatsby the whole process is pretty simple, with a few caveats.
I mainly used gatsby-remark-prismjs plugin to do all of this. I considered of integrating everything myself manually. But I think it would lead to a messier codebase. So at the end, I decided to stick with this plugin.
Installation
This is quite straightforward:
npm install --save gatsby-transformer-remark gatsby-remark-prismjs prismjsThen just add the following plugin config into the Gatsby config:
// gatsby-config.js

plugins: [{
  resolve: `gatsby-transformer-remark`,
  options: {
    plugins: [{
      resolve: `gatsby-remark-prismjs`,
      options: {
        classPrefix: "language-",
        inlineCodeMarker: null,
        aliases: {},
        showLineNumbers: false,
        noInlineHighlight: false,
      },
    }],
  },
}]
Understand the configs
First of all, let's run through a quick explanation of the above configs which wasn't clearly explained by the documentation:
classPrefixwill default to "language-text" if not set which doesn't add any code syntax highlighting, so just leave as it isinlineCodeMarkerstill not sure what this does, but you can still use the inline code with single backticksaliasesin case you don't want to keep writing long language names e.g. "js" instead of "javascript"showLineNumbersI recommend keeping this to false. I tried setting this global setting to TRUE, then override it to FALSE in specific situations. But it did not work. So it seems it is only possible to override to TRUE, for now, so leave this as FALSE unless you want line numbers in every code snippet.noInlineHighlightThis allows you to highlight certain lines in a code snippet which might be useful, I have turned this on thinking I may use it in the future. Note: this will conflict withshowLineNumbersin terms of CSS styles, so if you want to use this, make sure CSS works in both situations.
Where to include the CSS
The documentation wasn't too clear on this, I tried to add Prism theme into gatsby-browser.js but it did nothing for me. The file I needed was in fact src/layouts/index.js, after importing
import 'prismjs/themes/prism-tomorrow.css';at the top code syntax highlighting was showing up correctly.
If you wish to use line numbers then you'll need to import the following CSS file as well.
import 'prismjs/plugins/line-numbers/prism-line-numbers.css'Wait, we are not done just yet. If you want to use showLineNumbers and noInlineHighlight then you'll have to include a custom CSS file which holds the following overrides as well. For me, since I'm using Prism's "tomorrow" theme, I've included the following (depending on your theme you probably want to change this) and I've also decided to use SCSS here.
import '../styles/prism-override.scss'/**
* Add back the container background-color, border-radius, padding, margin
* and overflow that we removed from <pre>.
*/
.gatsby-highlight {
background-color: #2d2d2d;
border-radius: 0.3em;
margin: 0.5em 0;
padding: 1em;
overflow: auto;
border-left: 0.5em solid #FF9800;
/**
* Remove the default PrismJS theme background-color, border-radius, margin,
* padding and overflow.
* 1. Make the element just wide enough to fit its content.
* 2. Always fill the visible space in .gatsby-highlight.
* 3. Adjust the position of the line numbers
*/
pre[class*="language-"] {
background-color: transparent;
margin: 0;
padding: 0;
overflow: initial;
float: left;
min-width: calc(100% - 3em);
&.line-numbers {
padding-left: 3em;
padding-right: 1em;
.line-numbers-rows {
right: calc(100% - 25px);
left: unset !important;
}
.gatsby-highlight-code-line {
background-color: #455A64;
display: block;
margin-right: -1em;
margin-left: -1em;
padding-right: 1em;
padding-left: 0.75em;
}
}
}
}